Z's "Other Room" Water Cooling Loop Build Thread

You could get creative with a matching piece of the ceiling tile edge frame to form (cut and bend) into a sort of goof ring which would hide the tile's rough cut edges.
Some 3/4" (or whatever size the existing trim is) aluminum angle pieces - sold at HD or Lowes. Cut to fit, spray paint, and then spray glue to the cut edges of the tile to make it look nice.

 
I was actually thinking about using some white wood molding pieces, but I'm not sure if I want to cut paint and glue them. I migth though.
If you were really really good you could cut and bend the aluminum on the 90' bends, but it's .. difficult to get it to look right. You could get channel slot instead of angle iron and make it fit around the edge of the tile without glue, or you could do something like some sheet metal screws or pop rivets, but I think just some spray glue would be your best and easiest bet; it's not like you are going to be up there fidgeting with it all the time after you get it on once.

Even just some white duct tape would work and look ... ok. Better than ragged edges, at any rate.
 
Alright, so it was time to join the PEX yesterday.

For PEX-A everyone recommends the Milwaukee electric expander, but it is way too expensive for just a few joints, so I went with the manual kit. I was going to go for the standalone handle and 3/4" head, but that was almost as much as the full kit, so I just got the full one.

So, when it is open, the jaws are in the unexpanded state.

837020_PXL_20230409_020634673.jpg


And then when you squeeze the handles together, it expands:

837022_PXL_20230409_020644924.jpg


I haven't been to the gym in years, but I still have pretty decent upper body strength, and while the first few were pretty easy, as I went on, this started to turn into a little but of a workout.


837024_PXL_20230409_014832108.jpg


837027_PXL_20230409_015046445.jpg


837028_PXL_20230409_020711463.jpg


837031_PXL_20230409_020727846.jpg


837032_PXL_20230409_020854599.jpg


I went with 3/4" 90 degree brass elbows for the tops near the wall.

Then at the bottom I installed 3/4" to 1/2" elbow adapters as I am going to use 1/2" ID, 3/4" OD tubing.

837036_PXL_20230409_024328872-clean.jpg


(going to have to wipe down the raceways when I am done, they got staticky as hell and are attracting all sorts of ****.)

The PEX-A fittings aren't designed for tubing (a hose barb would probably be better for that, but I couldn't find any).

837038_PXL_20230409_024647300-clean.jpg


I tested them and they seem to work pretty well. Just to be on the safe side I decided to tighten them down with hose clamps.

837040_PXL_20230409_024911896-clean.jpg


837042_PXL_20230409_024920220.jpg


Those tubing pieces are about a foot in length each. On the end of them I'll attach some Koolance QD4 compression fitting quick disconnects. (when they arrive)

These of course won't fit any of my existing quick disconnects which are QD3's, but the QD4's seem to be less restrictive, so I wanted those for this build.

That's it for this week. Going to be quiet for a little while as we have an audit at work I am going to be busy with. That, and I forgot to order some parts, so I am waiting for them to arrive.
 
Last edited:
Just a head's up @Zarathustra that I did try to find that article from Tom's a while back from one of their reviewers doing something similar with their test rig and couldn't find it. However, get this, I'm fairly sure it was none other than Igor Wallosek (Igor's Lab). I was completely oblivious that he used to be one of their GPU reviewers and I do remember the story I read was back around the 1080 Ti time period so I tried searching their archives and found some of his reviews. Some of the photos in his reviews seemed familiar to what I was remembering but I wasn't able to find any mention of the separate room that I was looking for. Nonetheless, that is one cool project you've got going on and meanwhile, I'm still loving my Suprim X.
 
Unfortunately it is going to be a while until the next update on this project.

The drain hose on my dehumidifier somehow sheered off, and I didn't notice until i stepped into my office without shoes for once, and got wet feet.

For who knows how long it has been depositing water under my veneer flooring.

Had to pull up all of the flooring in my office and dry it out, then I am going to have to reinstall the flooring before this project continues.


PXL_20230419_021228825.jpg


Fun times.

Never mess around with mold. The moment you have a damp problem, start ripping **** apart immediately or you'll live to regret it.
 
The dehumidifier, now that's ironic. I'm sorry for you truly. About five years ago we experienced the "100-year" flood and had to have a company immediately come in to remediate it at our main office (yet another fun project I had to oversee and I'm still cringing from it). We had so many dehumidifiers and air driers that it took almost a week to balance them all so they wouldn't trip the circuit breaker.
 
Ugh man sorry for your pain on that one!!!

Thank you.

Anyway. Ripped out floor, dried out thorougjly, cleaned with Concrobium mold killer, dried out thoroughly again and reinstalled flooring.

Before moving all the stuff back into the office, I figured this was a good time for a flow/leak test.

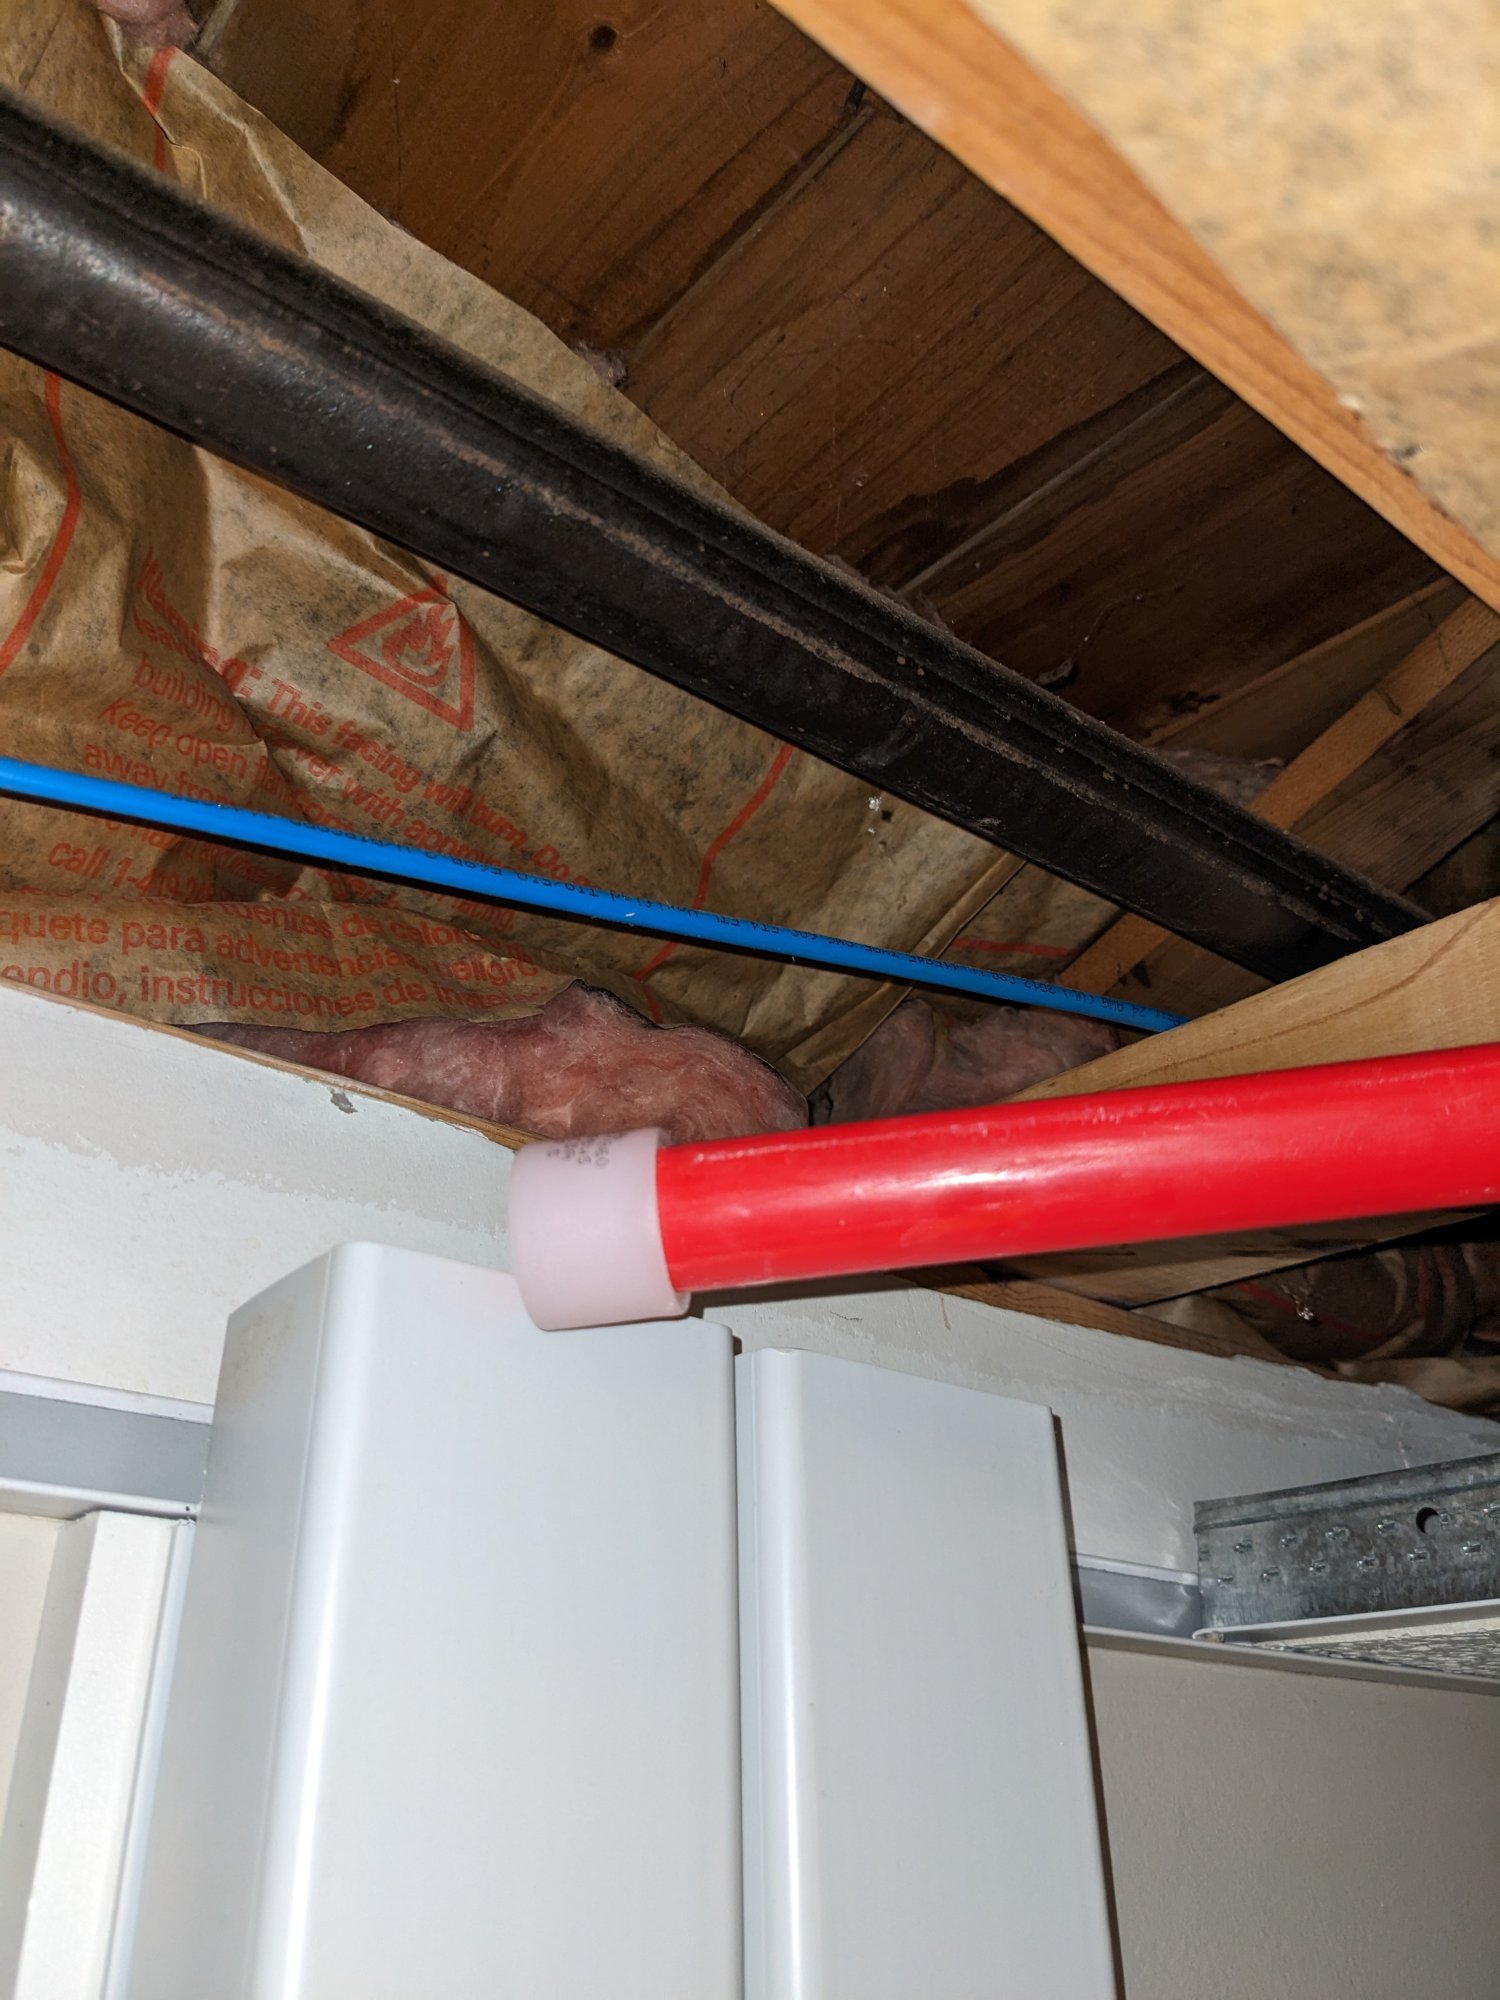
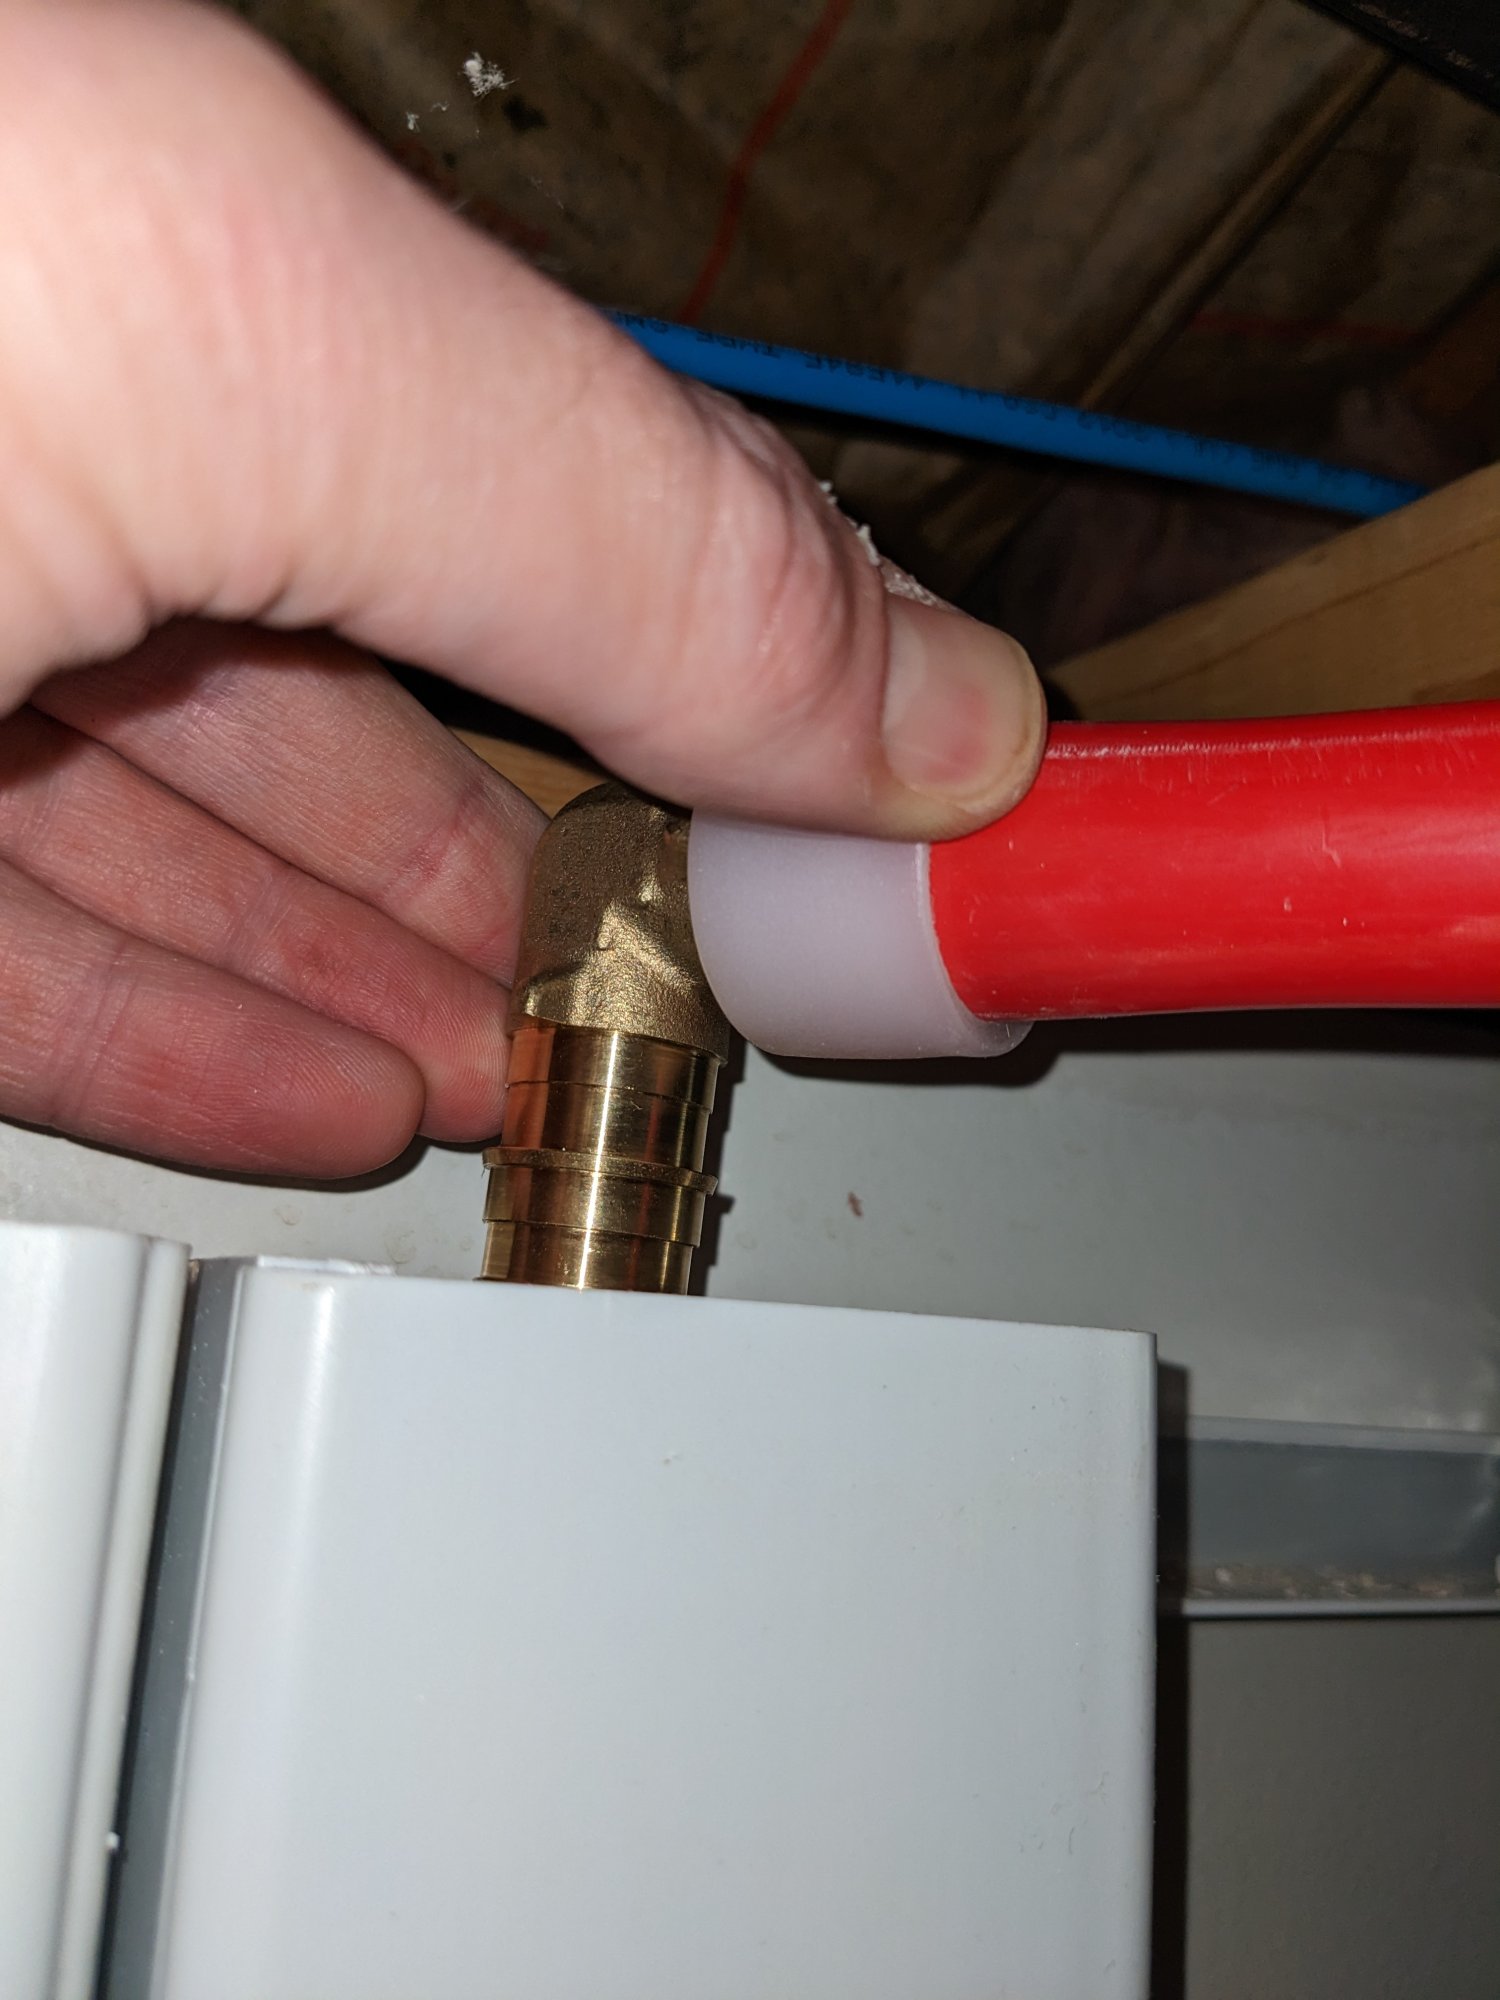
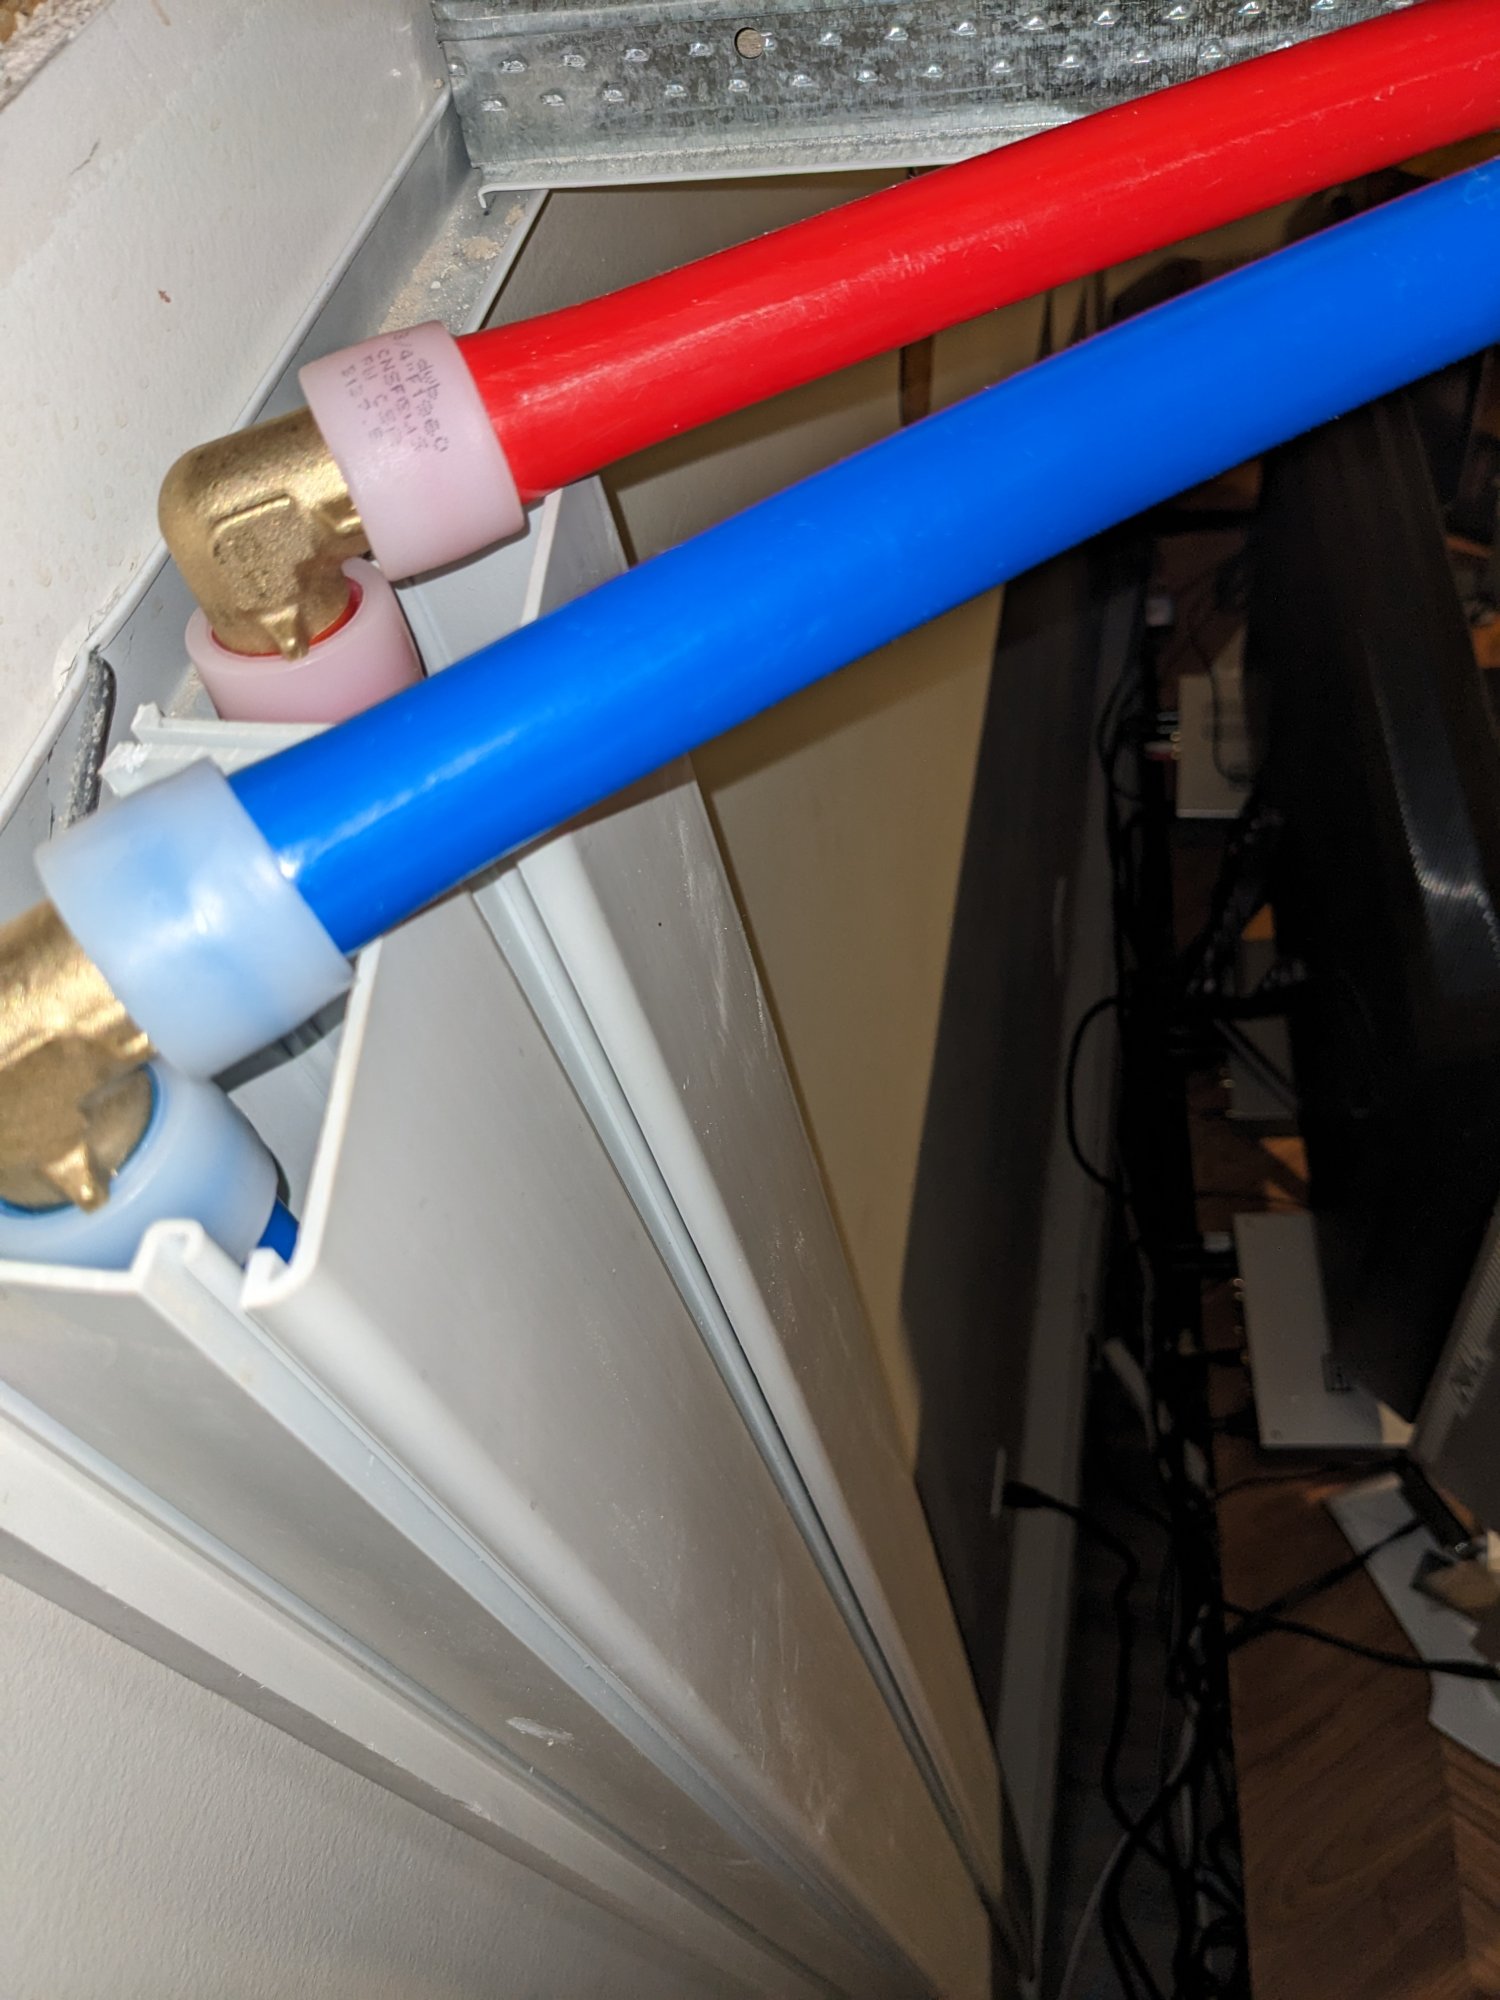
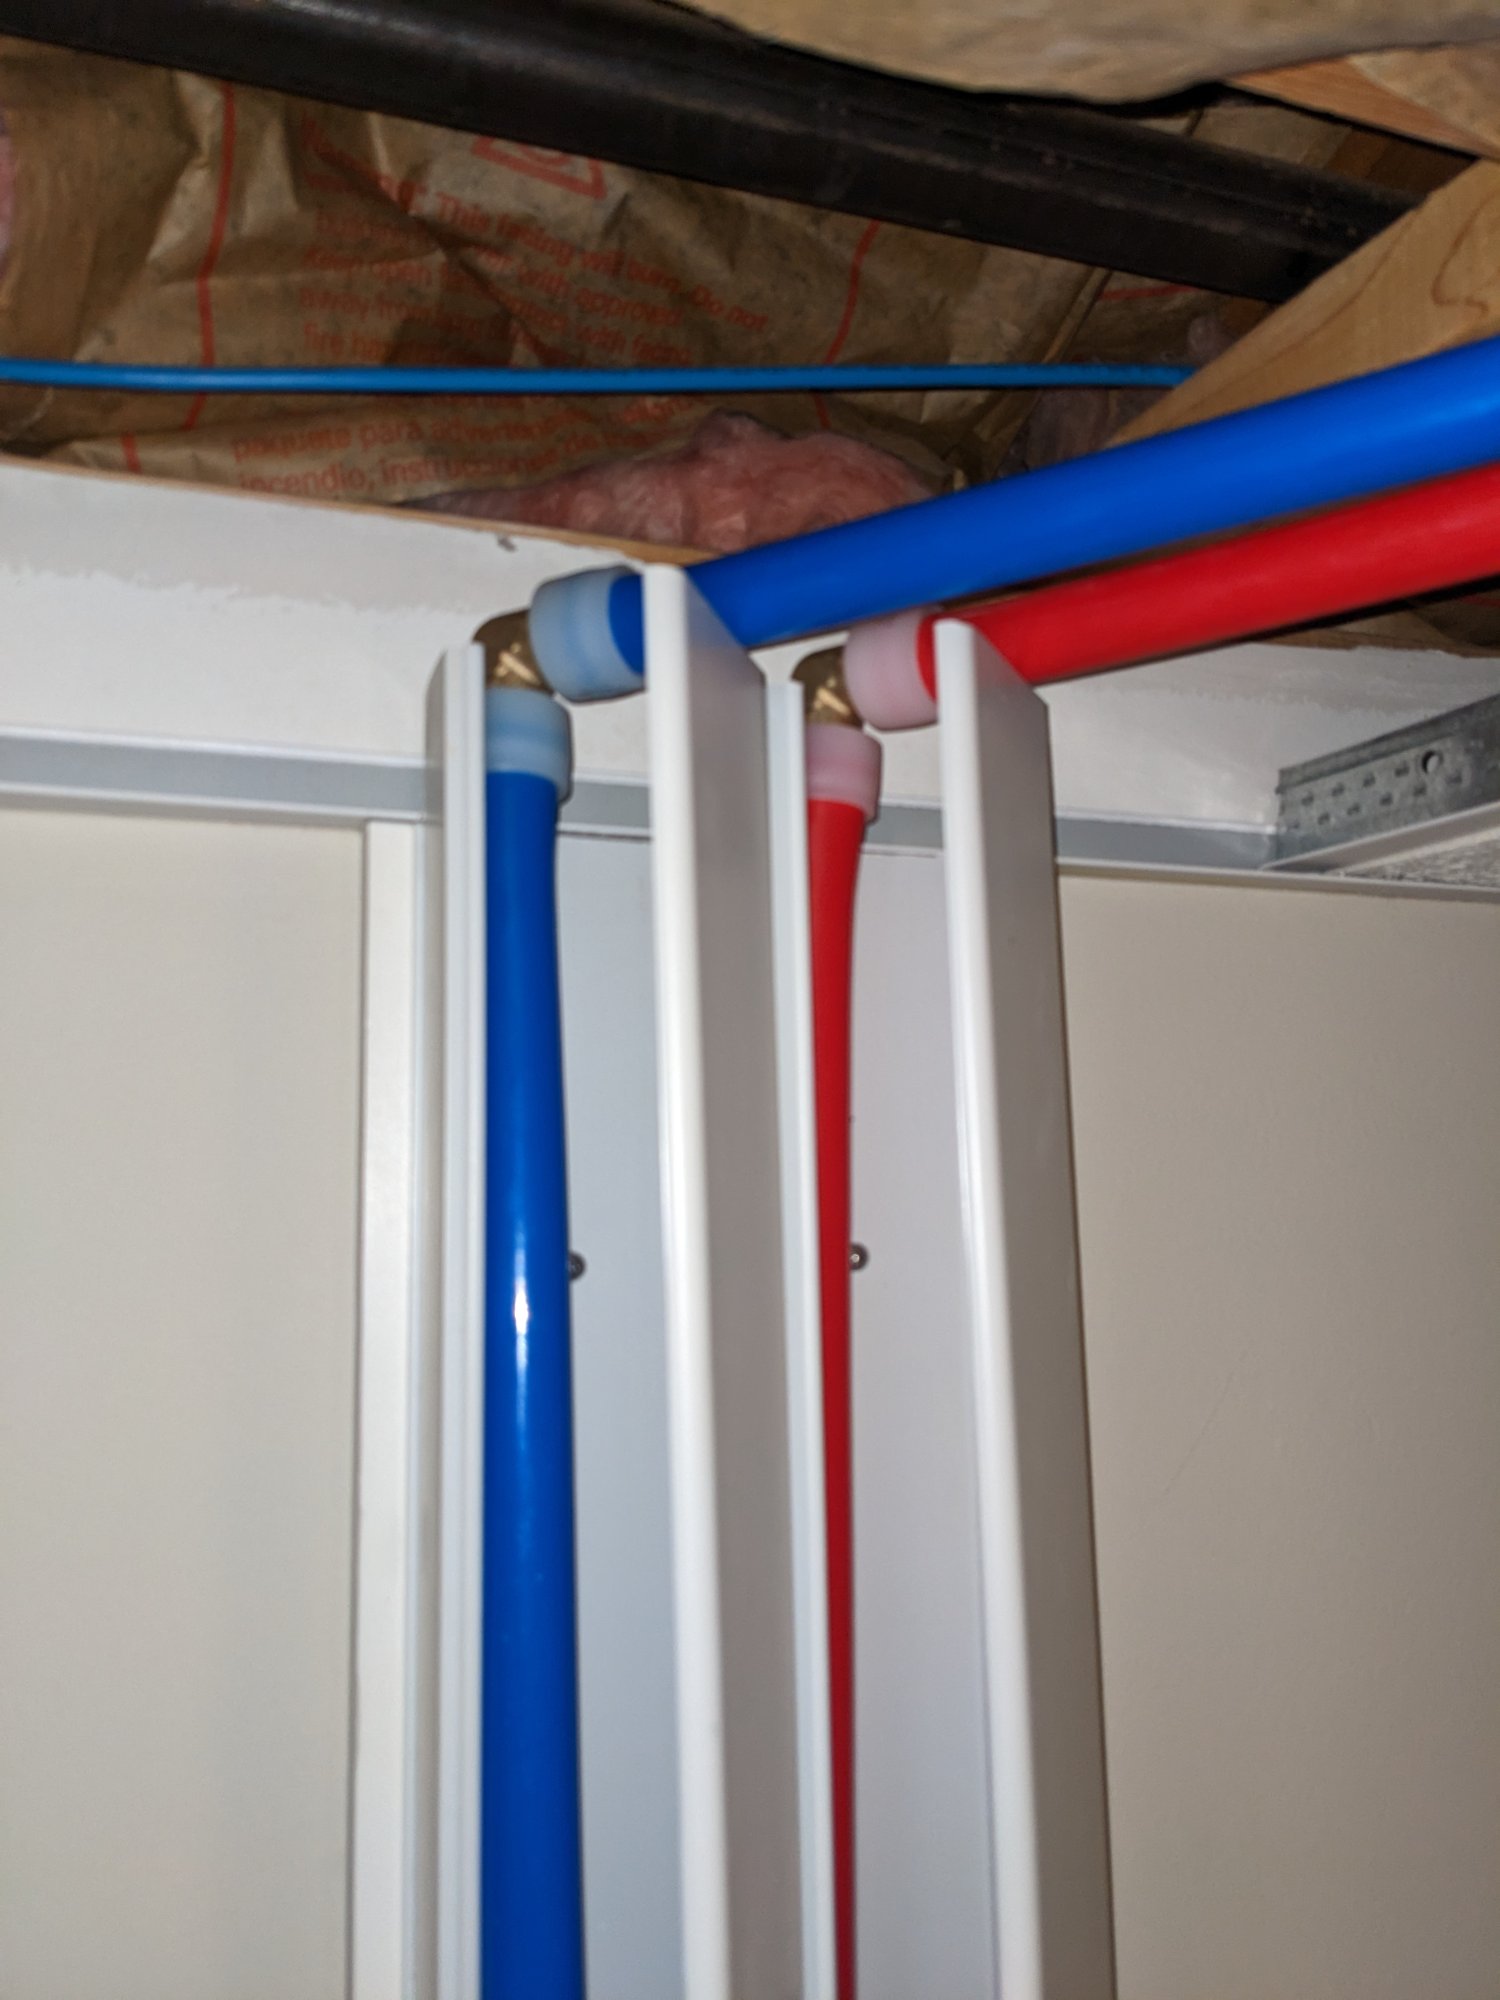
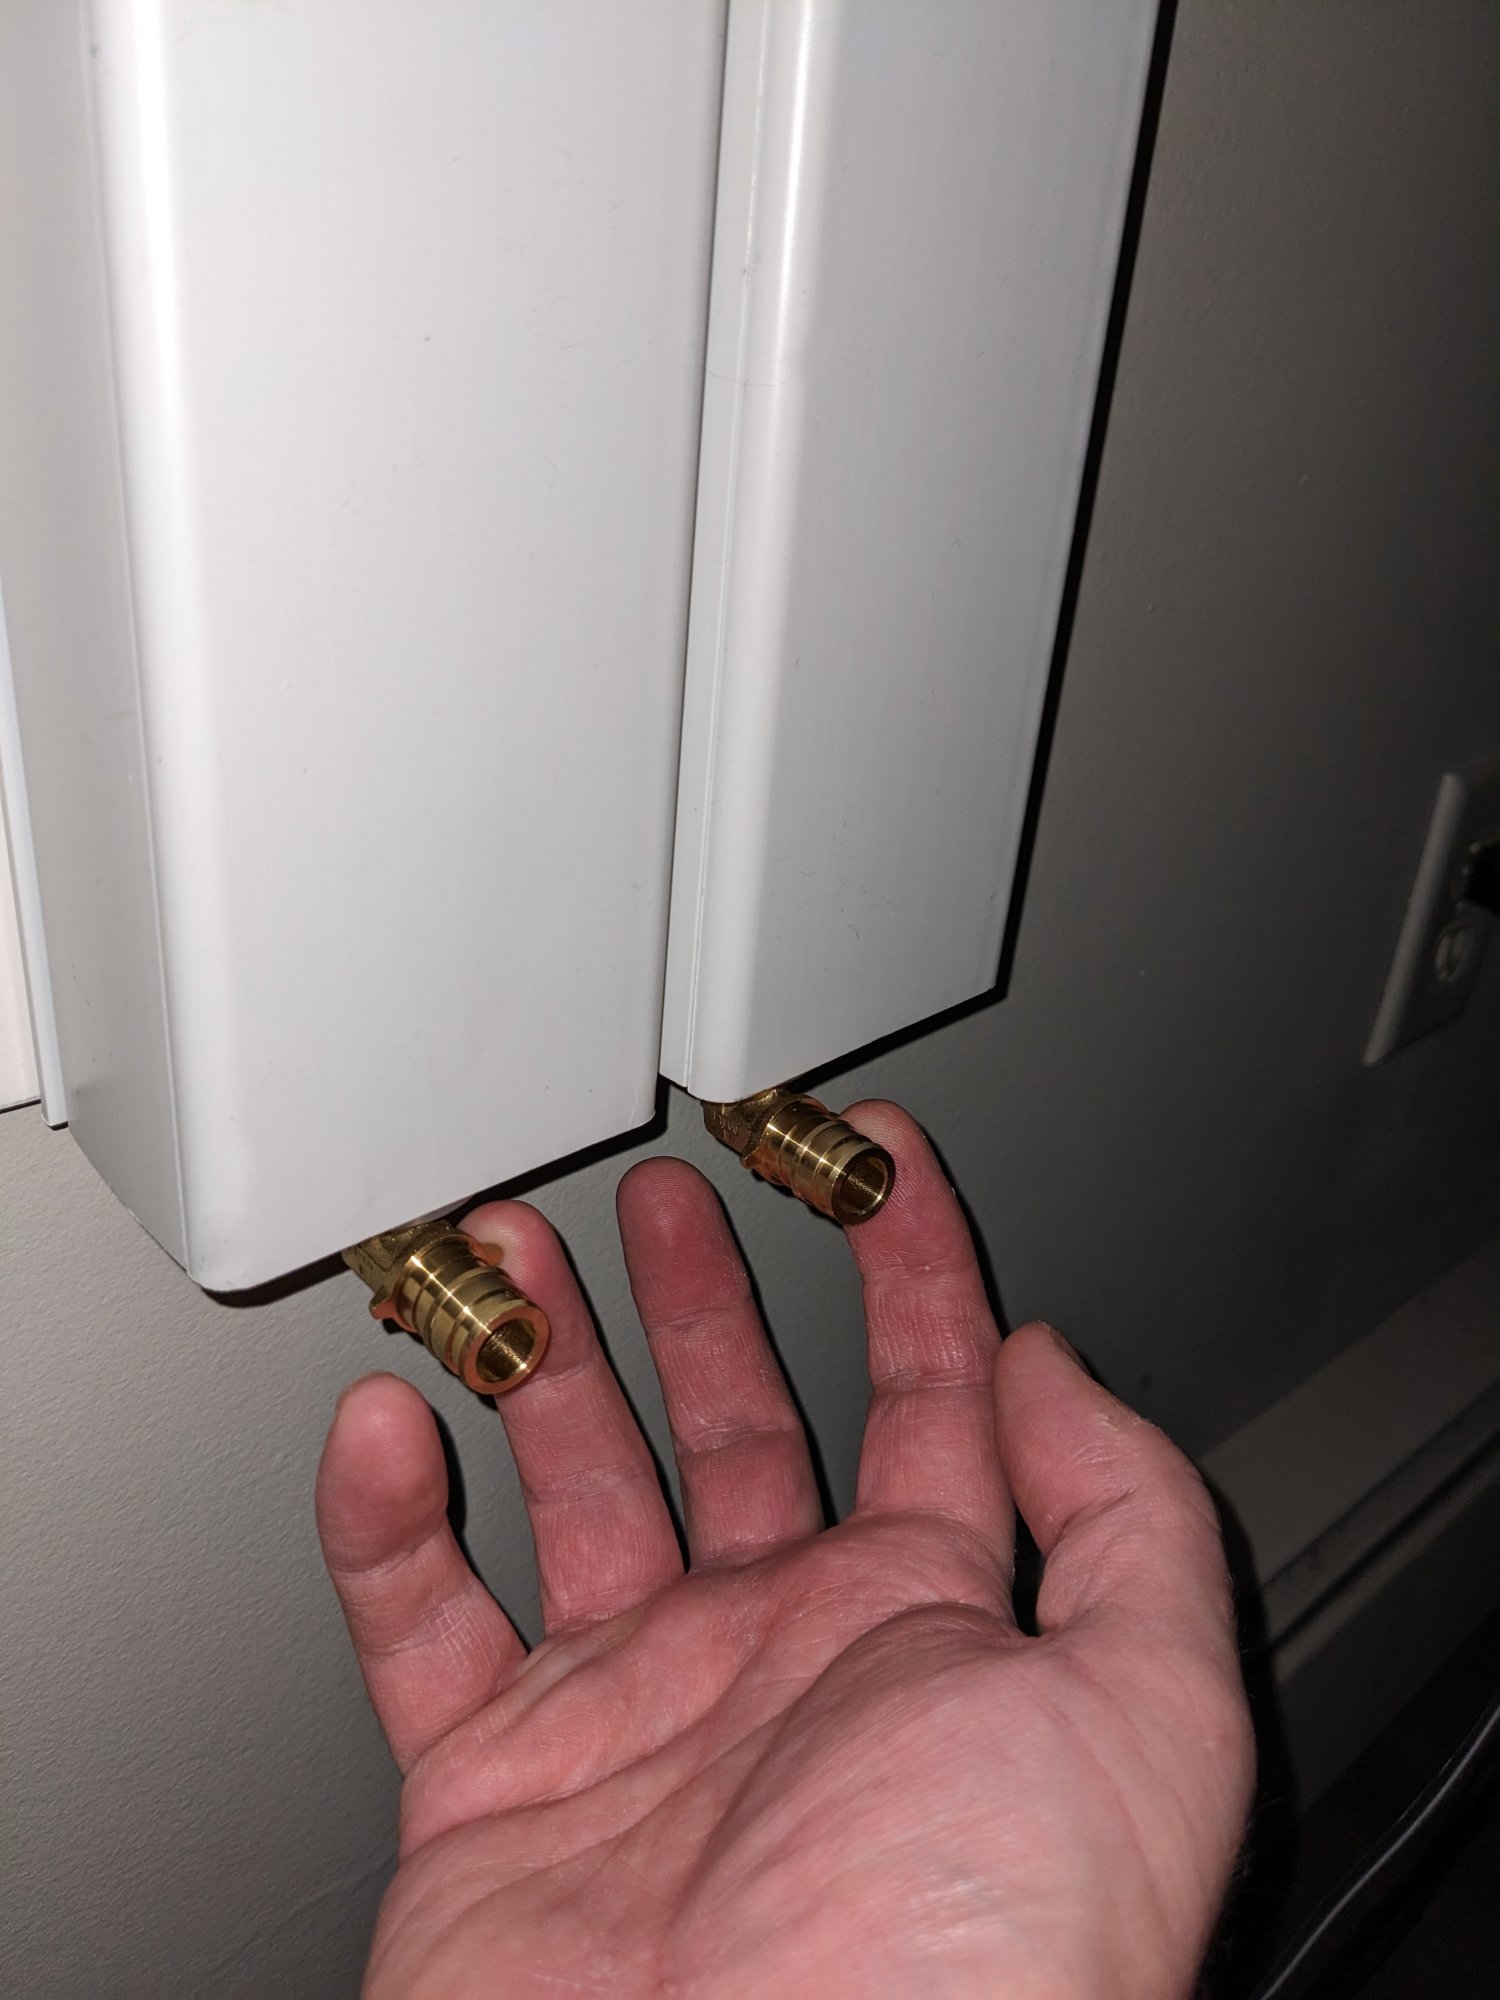
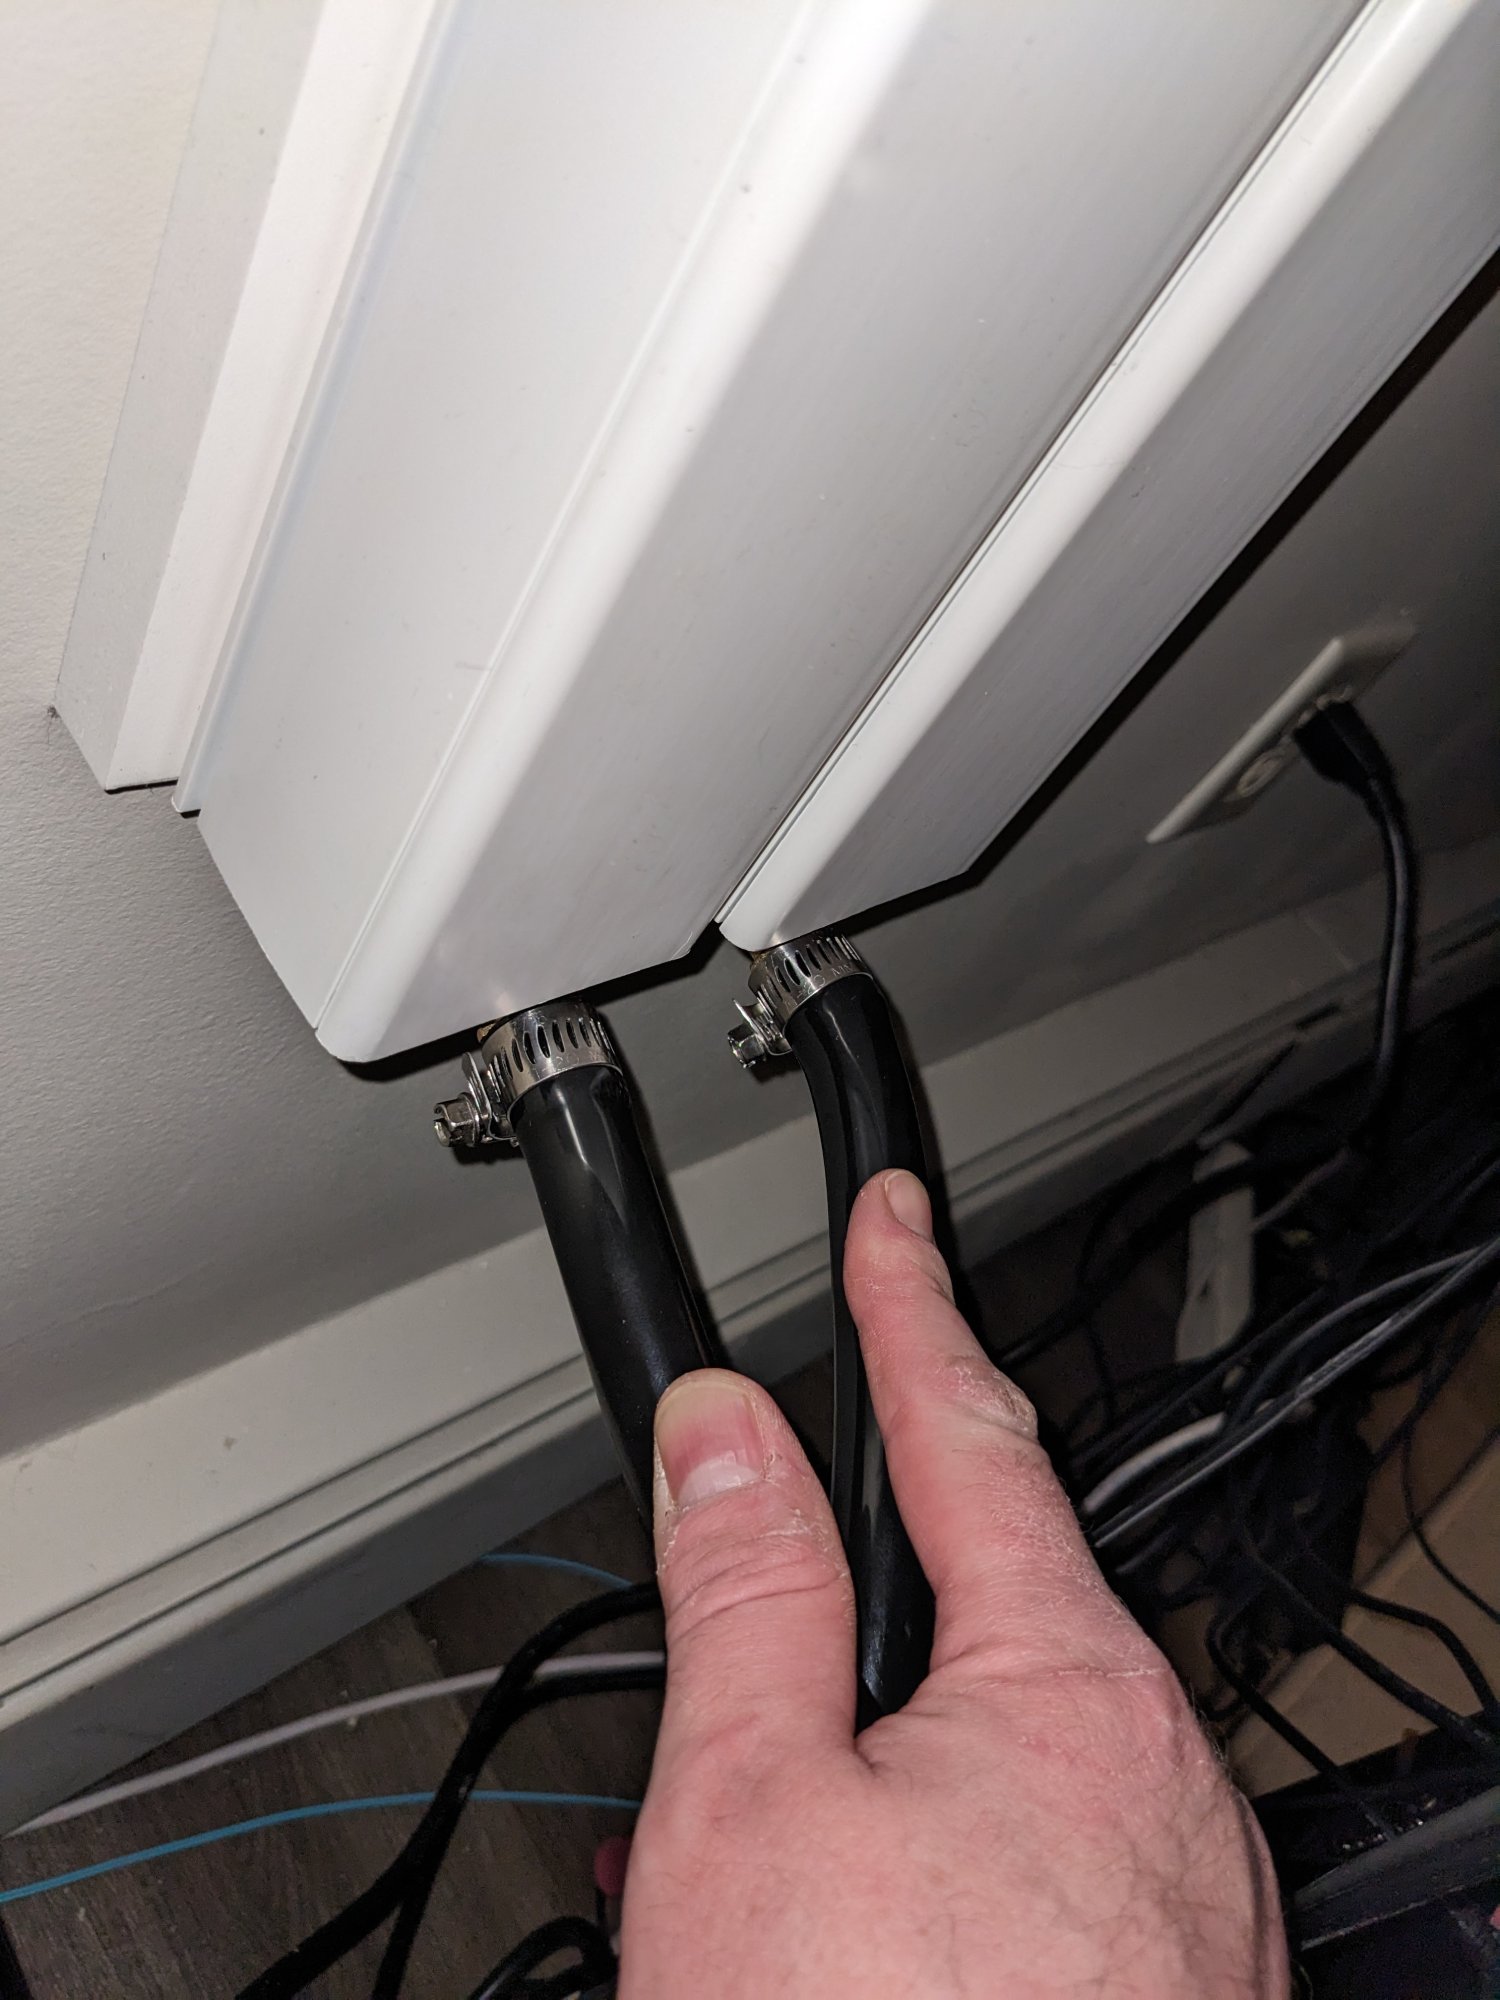
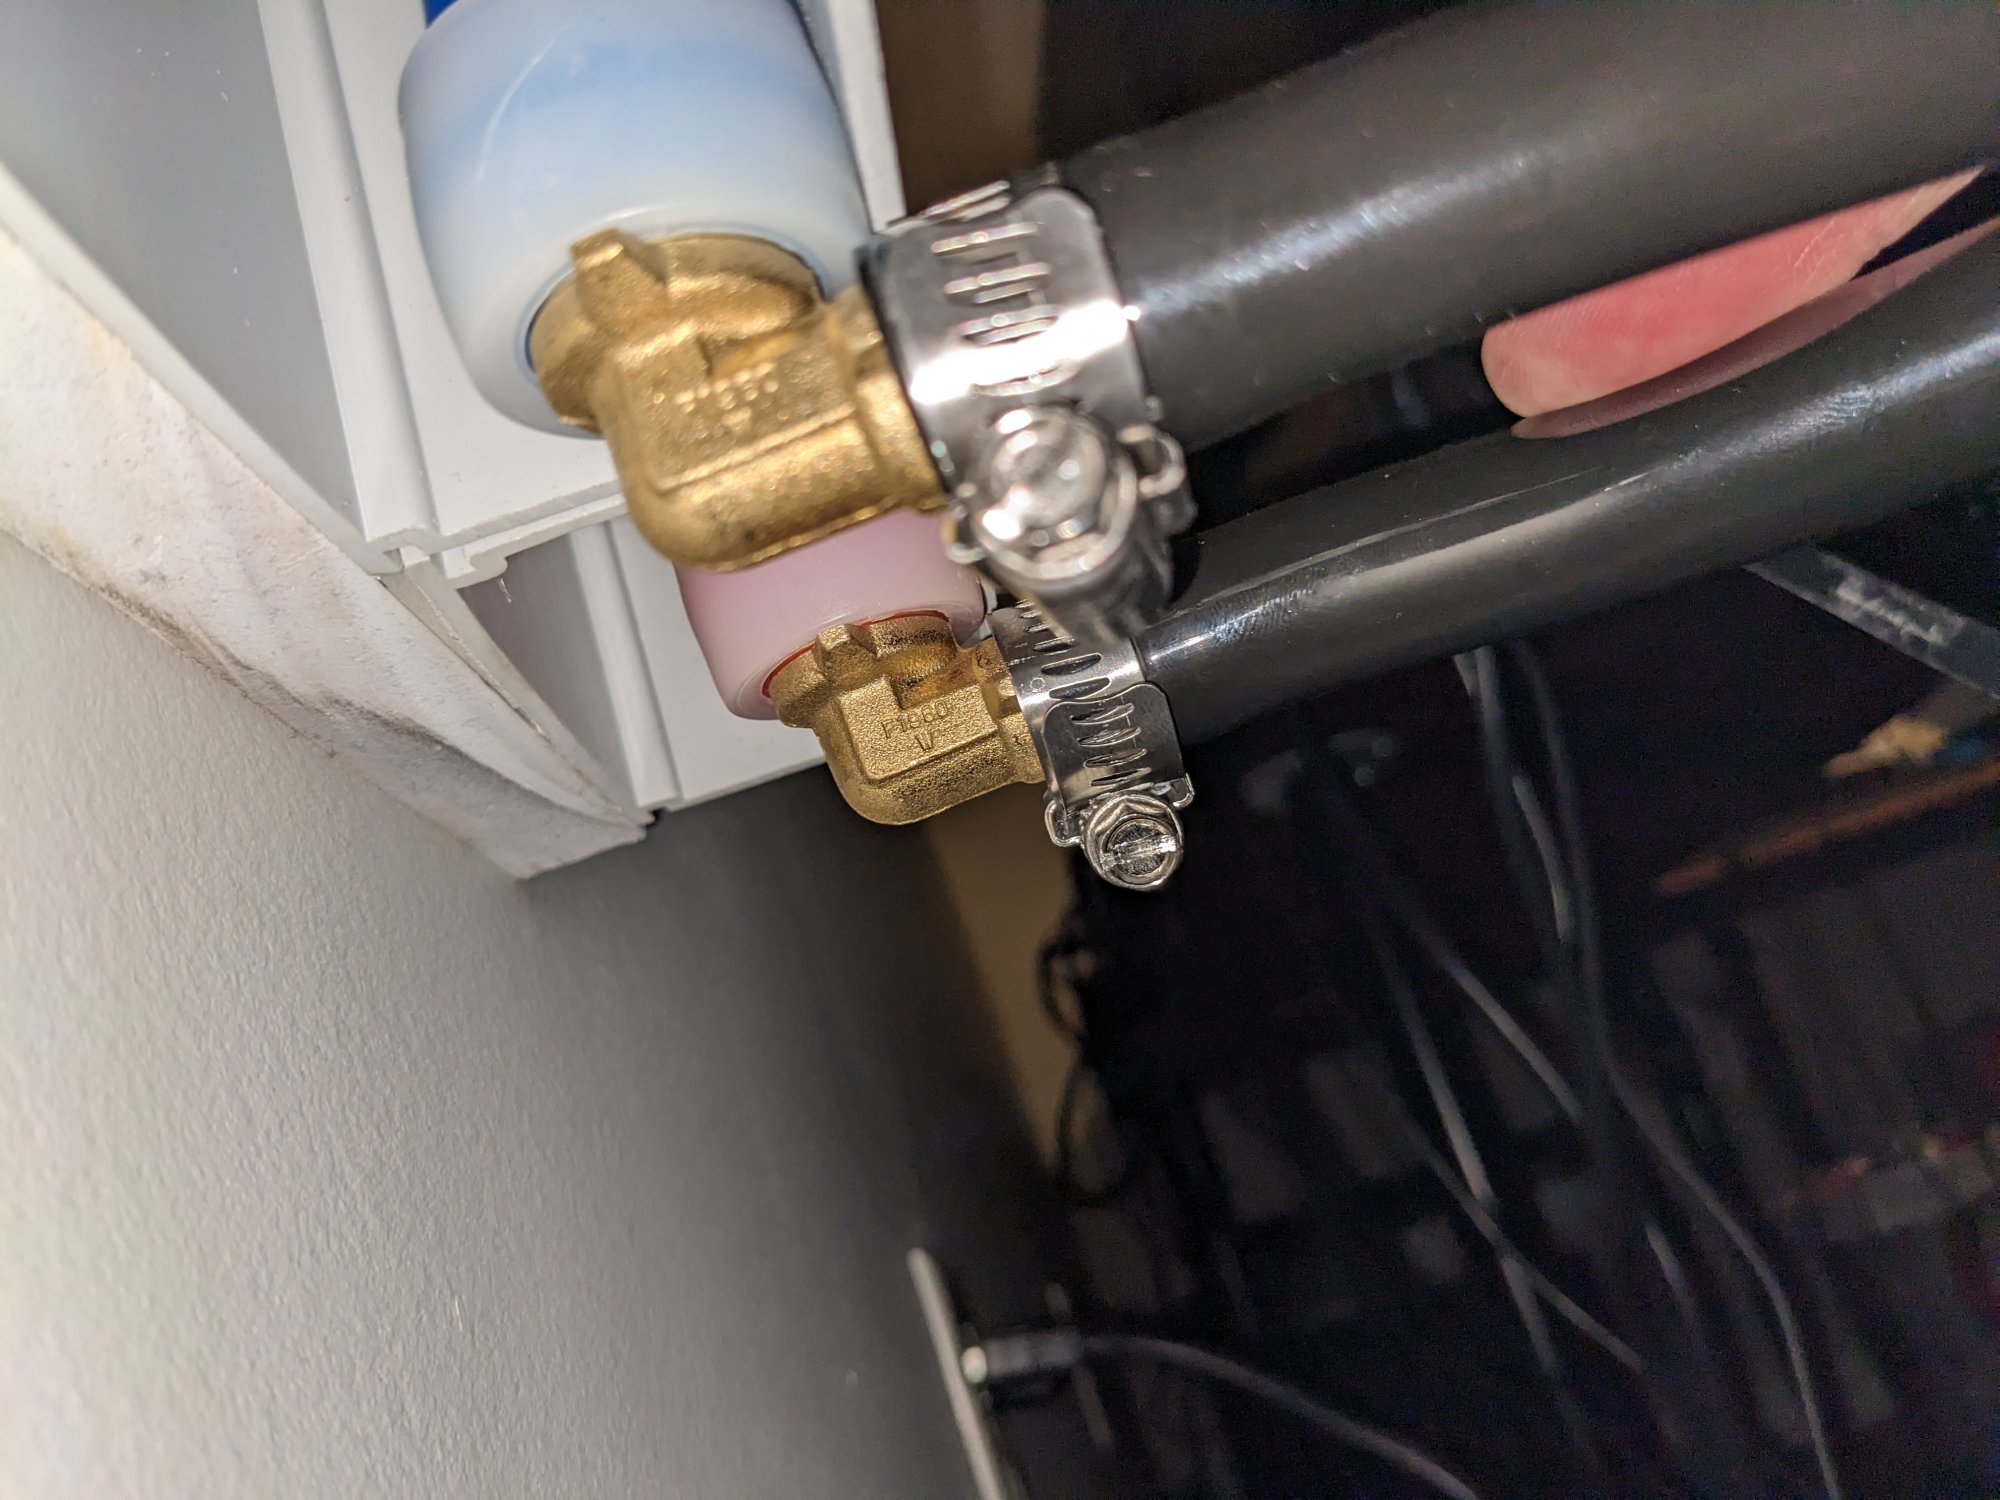
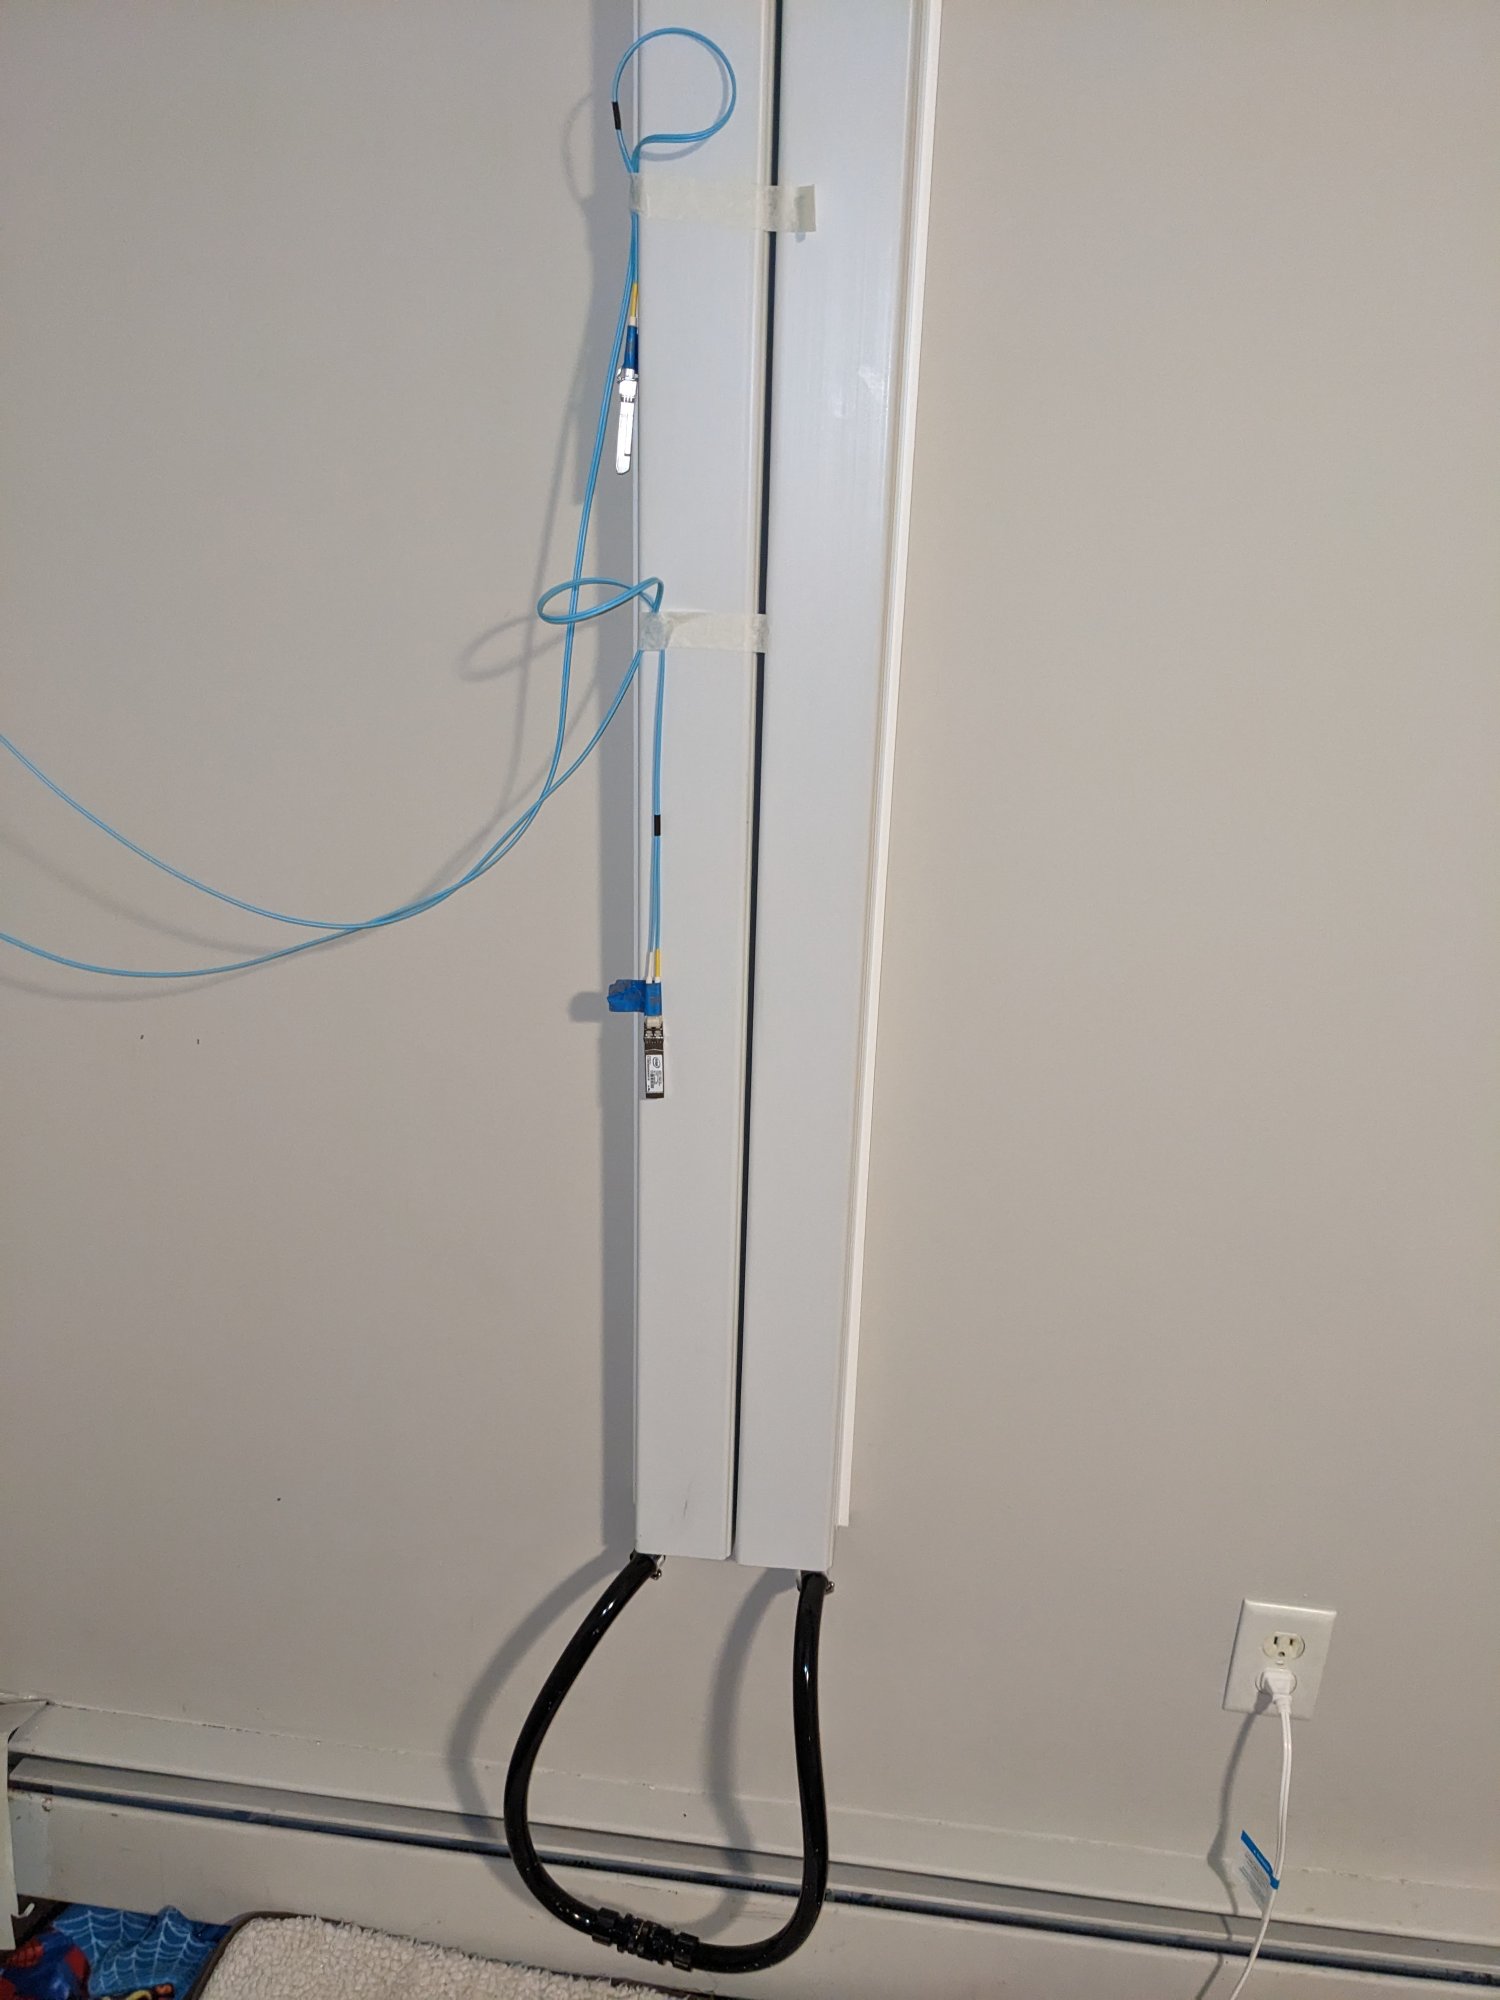
I connected the two QDC connections together as follows:

857454_PXL_20230530_013725370.jpg


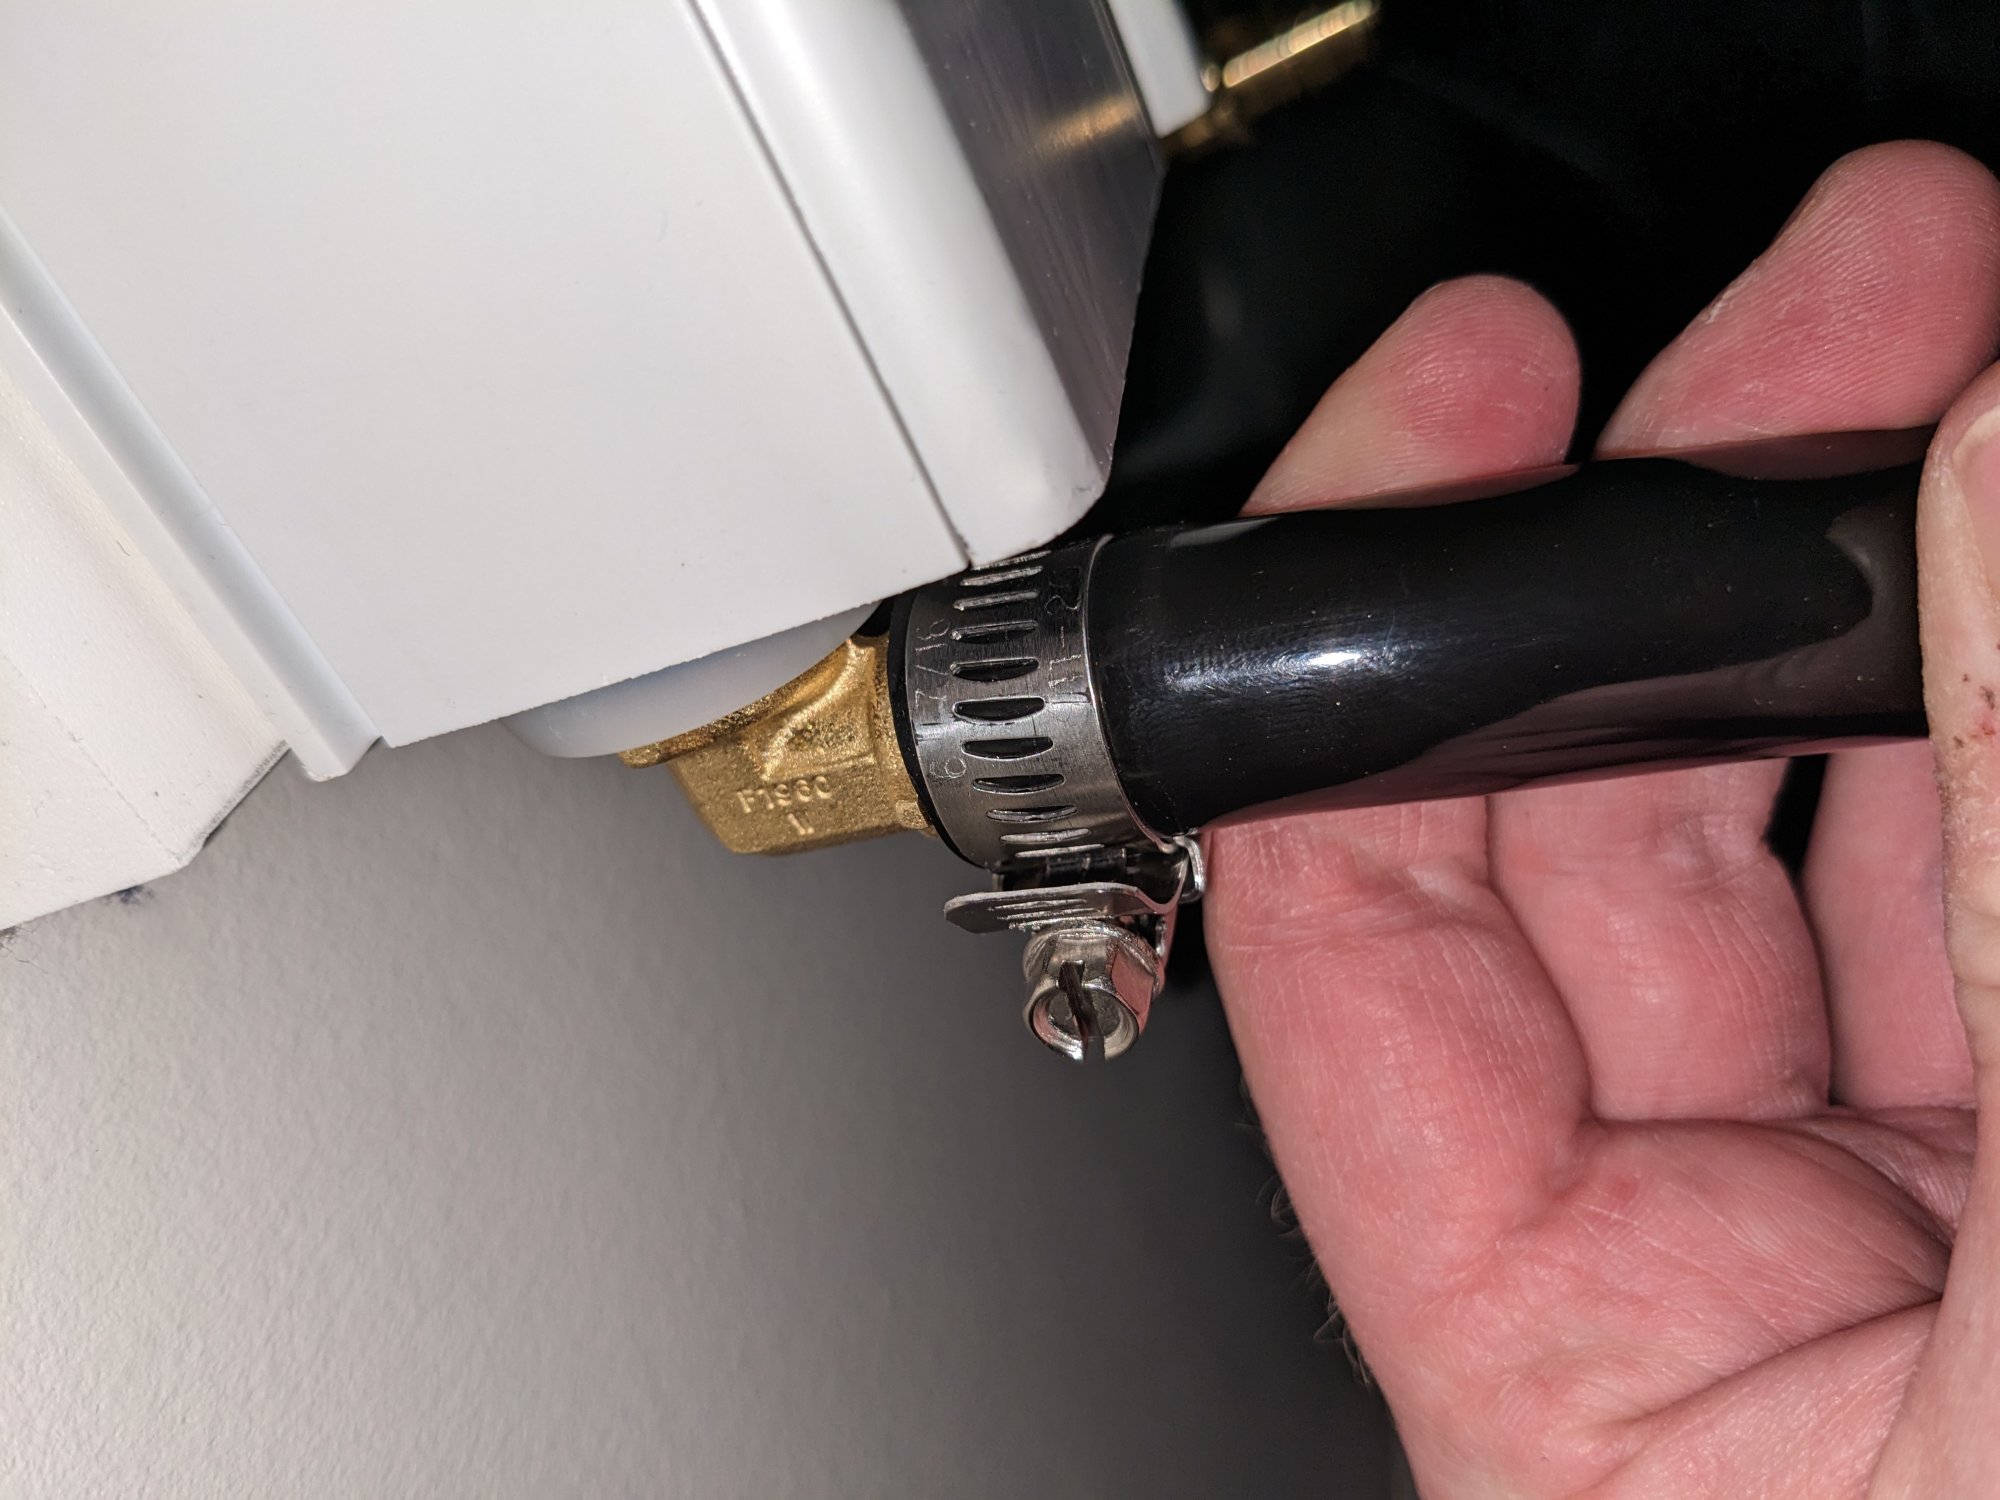
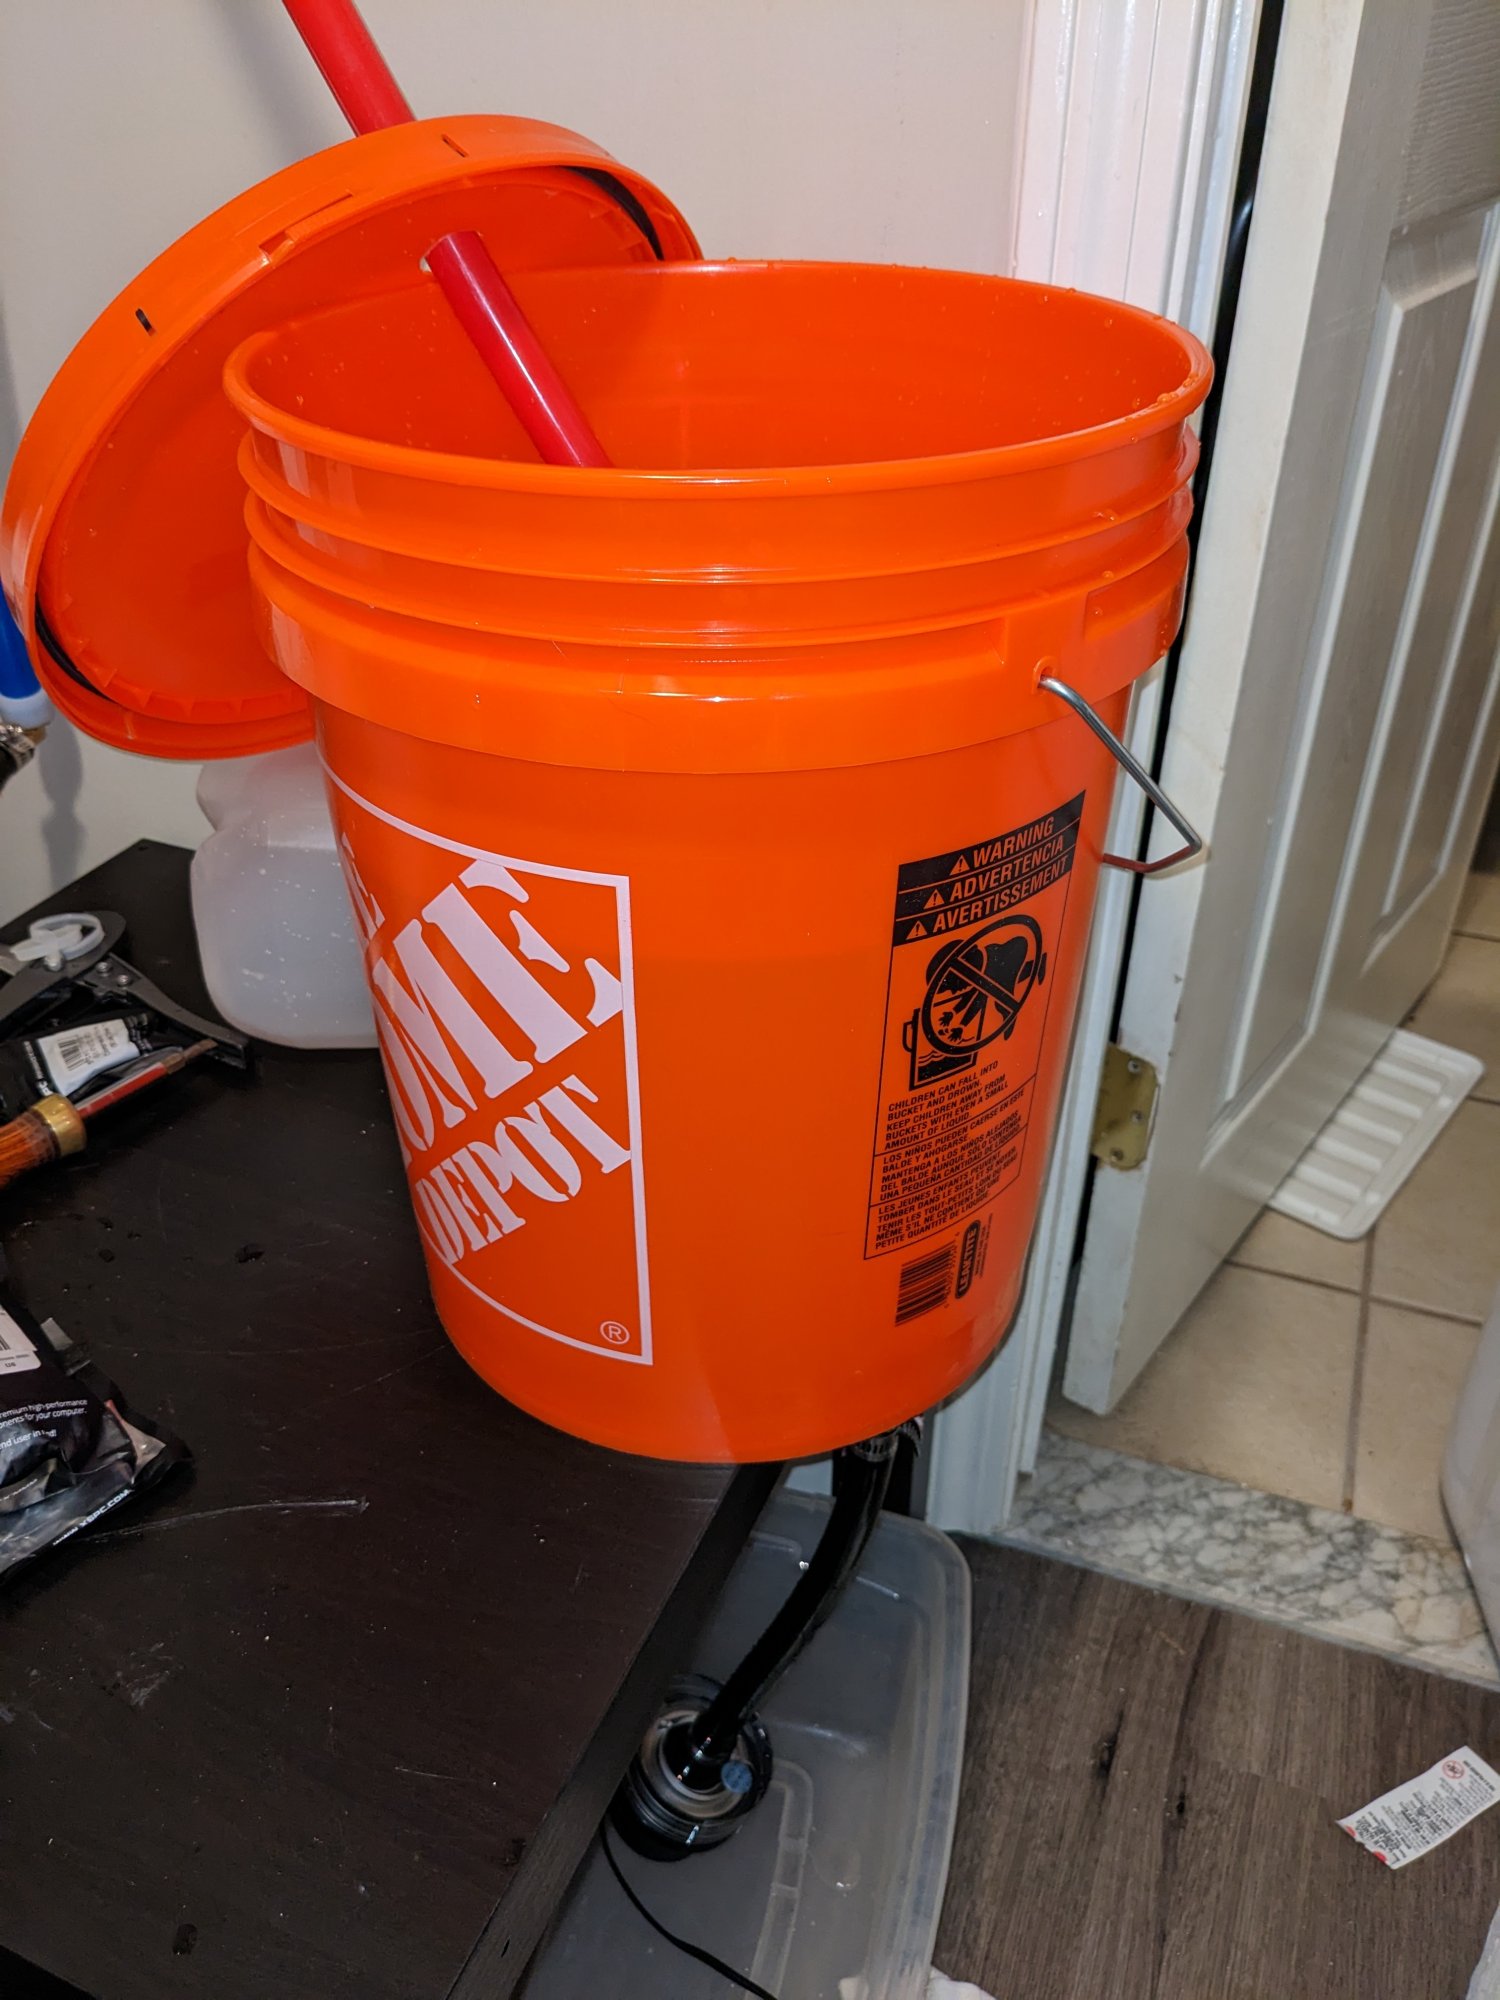
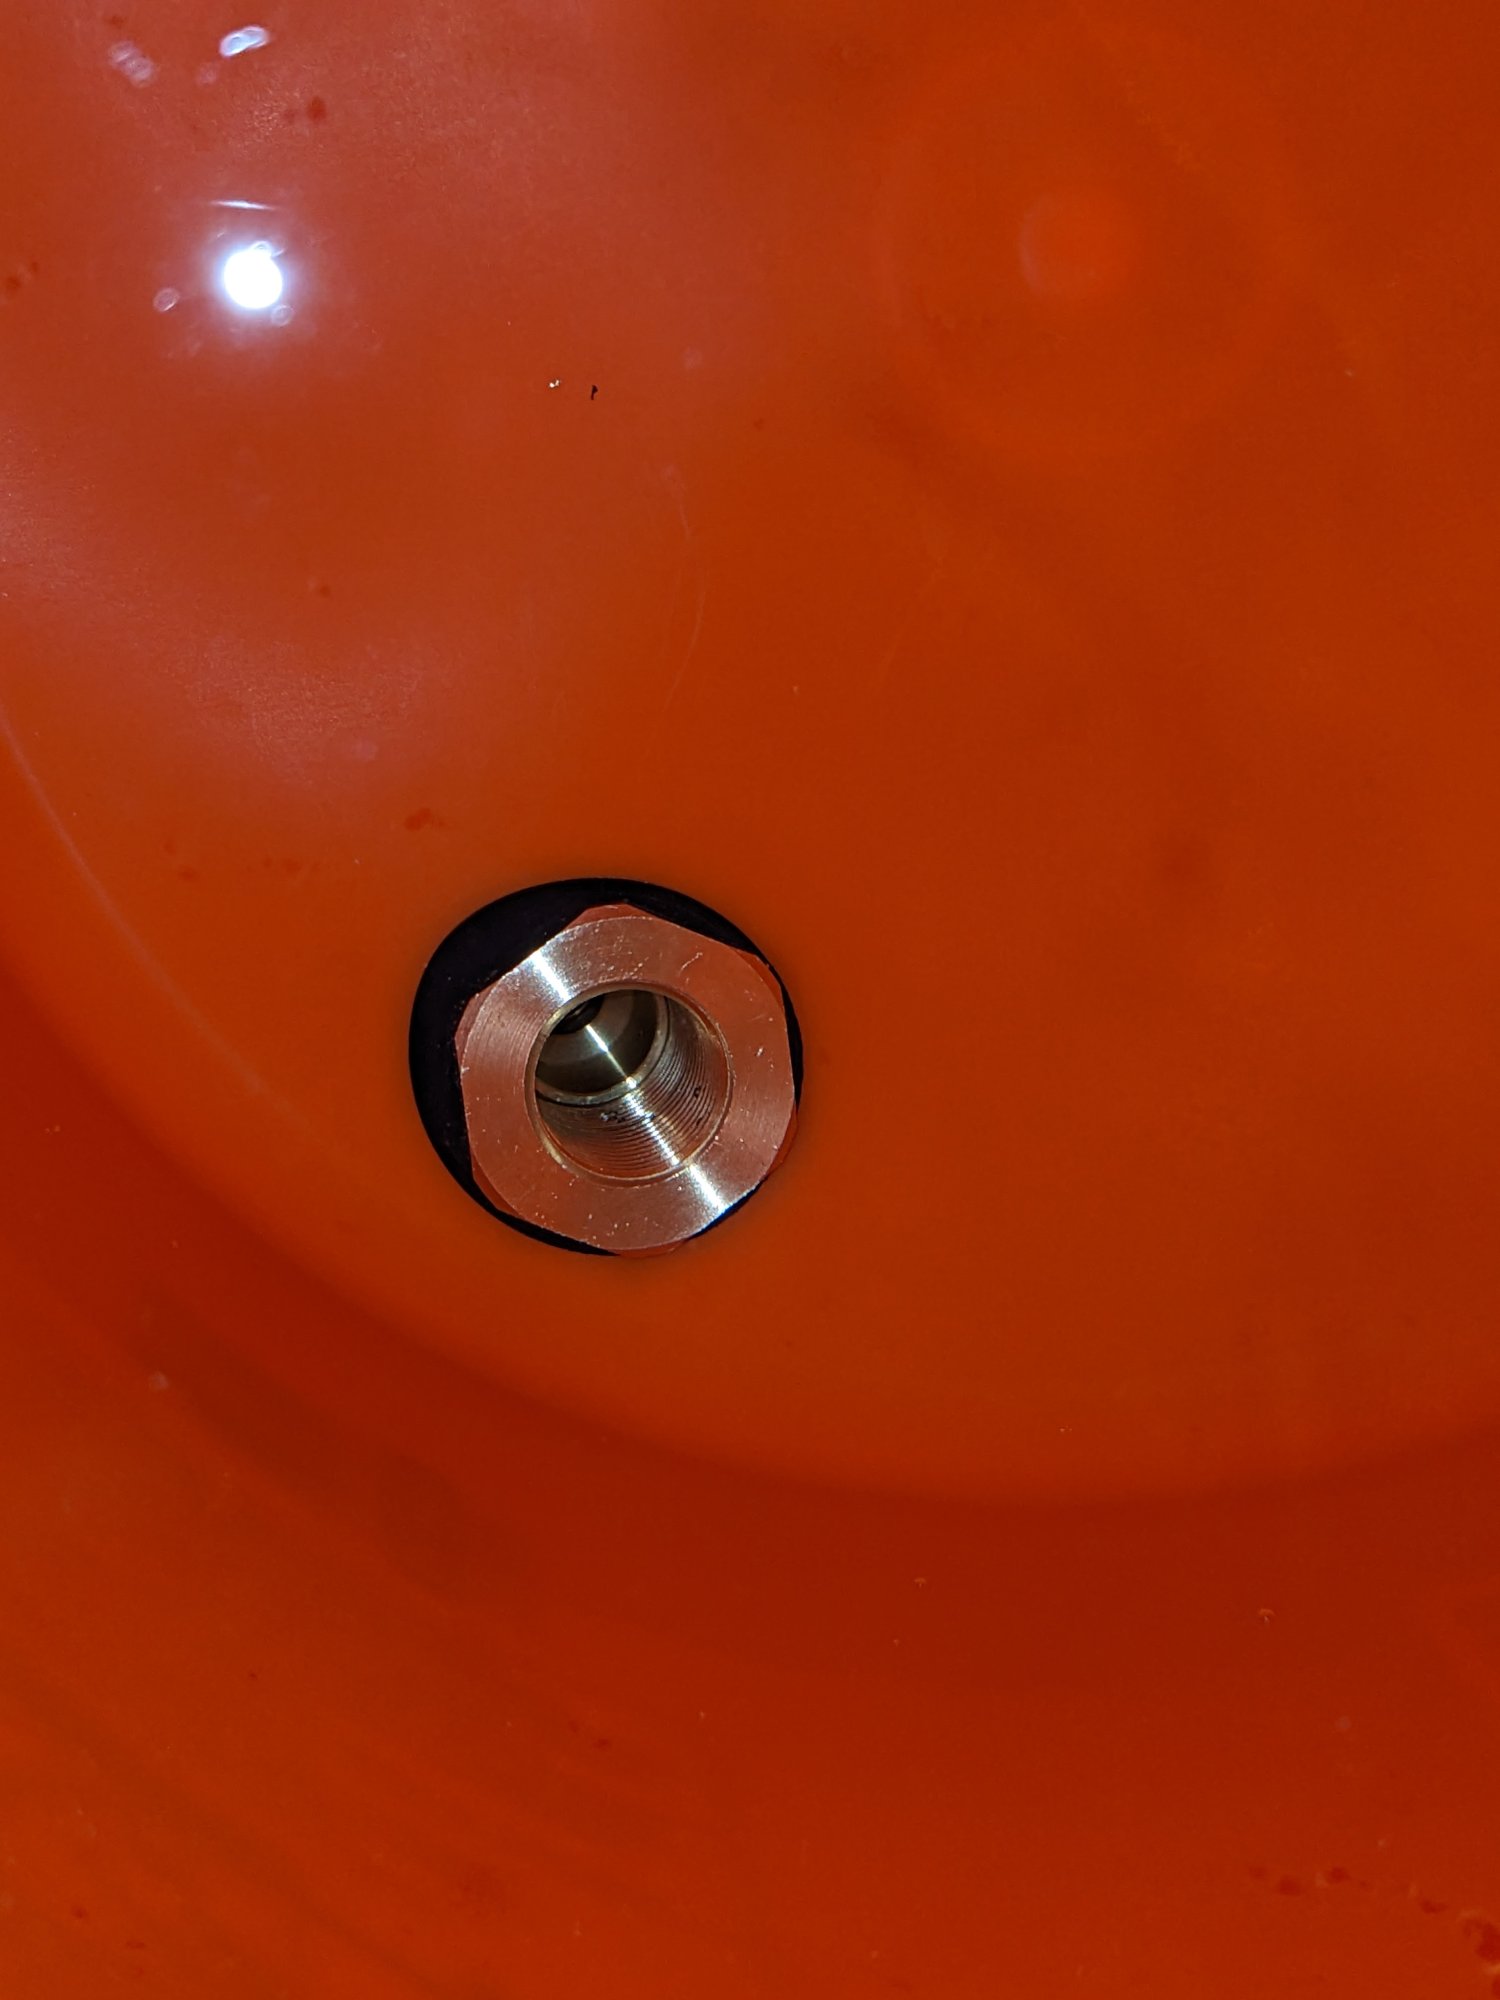
I hooked up a Home Depot bucket as a temporary test reservoir:

857456_PXL_20230530_013637259.jpg


Right off the bat, we had a leak, but luckily only in the temporary bucket reservoir.

It seems as if when you tighten down the through hole fitting, the rubber o-ring tends to want to pop out one side. :/

857458_PXL_20230530_013656139.jpg


I may have to do some research and find a better through-hole seal than this when I build the final reservoir.


Anyway, the rest of the loop held water. No other leaks.

The return flow looked somewhat tepid, so I was concerned and tested flow by holding a 1 gallon jug under the return hose. (no pics sorry, needed both hands for this)

Turns out it fills a 1 gallon jug in about 30 seconds, so that's 2 GPM. I guess the larger diameter of the 3/4" PEX just makes things look a lot slower than I am used to with 3/8" ID tubing :p

Now, that is pushing water through 1 QDC connection, but there are no blocks in the loop. Blocks will definitely slow things down. How much I don't know.

I considered hooking up an old CPU and GPU block on the PC side to make the test more realistic, but I completely forgot.

So real flow will be slower due to more resistance, but I will also have two D5 pumps in series in the final design. This test used only one.

Another interesting side note is that the loop used way less coolant than I had calculated using L*pi*r^2. I'm thinking this is probably due to there being no backpressure from blocks resulting in the long flat tubes in the ceiling not filling all the way. I expect the final thing taking more coolant to fill it.


Side note: I have grand plans for how to drain the finished loop, but I failed to plan for this for the temporary test loop which made for a bit of a mess.

I also learned that the 500w DataVac blower is NOT sufficient to blow out the coolant out of the whole loop. I had to do one half at a time.

Anyway, that's it for now.
 
Last edited:
I think part of the issue with the leak is because the plastic in the bucket is flexing, a problem I won't have with the glass final product. Still, I should probably do something to shore it up just in case.

I'm thinking if I can put a large flat washer on either side of the o-ring, that should keep things flat and tight.

I'd need 1" SAE washers, preferably in brass, as I don't want to introduce even more metals to the loop than are already there.

I'll have to look around for a source of brass SAE 1" washers. Not sure how easy those will be to find.
 
I may have to do some research and find a better through-hole seal than this when I build the final reservoir.
Look for something called a Bulkhead Fitting
Also - McMaster-Carr is your friend. If brass washers exist they will stock them.
 
Yeah, and sooner or later depending on the type of plastic it's made of it will begin to crack.

Indeed. This bucket was just a cheap way to do a feasibility test from a flow and leak perspective before I go spend time and money building the final thing.

It was never intended to be a long term (or even short term) solution. Just a test.
 
So, I've actually abandoned this project in favor of something else.

It's not that his couldn't have worked, but with technology always advancing there was a simpler way to accomplish my goals. (just wish I'd realized that before spending all the time on this one.)

I will be doing a write-up shortly.
 
It's not that his couldn't have worked, but with technology always advancing there was a simpler way to accomplish my goals
Is it a bidet?

They have gotten pretty fancy lately. Other than that, I can't think of a lot of evolution in plumbing.
 
Become a Patron!
Back
Top