Zarathustra
Cloudless
- Joined
- Jun 19, 2019
- Messages
- 4,410
- Reaction score
- 4,756
So,
For some time now (think years, if not a decade) I've been toying with the "what if" idea of, what if I just built a large enough water loop that I could relegate all fan noise to another room, and finally compute in actual silence.
In this thread I mentioned that I was probably about to either give up on water cooling, or double down on it. I think I have decided to double down.
When I got my Threadripper which outputs a good amount of heat, I thought about this more. And then once I picked up my XTX 6900xt EKWB edition which I overclocked such that it put out 430w for just the GPU, I became even more interested in this concept. Replacing the 6900xt with a 4090 has not improved things.
Not only can I get rid of that pesky fan and pump noise, but I can also sit in a room that is not stupidly hot in the summer due to having a 1000+w combined power output.
This build will be documented here in this thread AND in the Hardforums. The build will progress slowly, so don't expect frequent updates. A little here, a little there should do it. I may be done in a few months, or it may take a couple of years. Not sure yet. It depends on how much time I have and what the budget looks like over time.
I'm usually someone who thinks about my projects for a long time before I execute, and the planning phase is usually much longer for a big project, so to say I have given this some thought is a real understatement.
The high level plan:
- Build a water loop that has only the blocks in my office. All noise and heat emitting parts of the loop are in a different room.
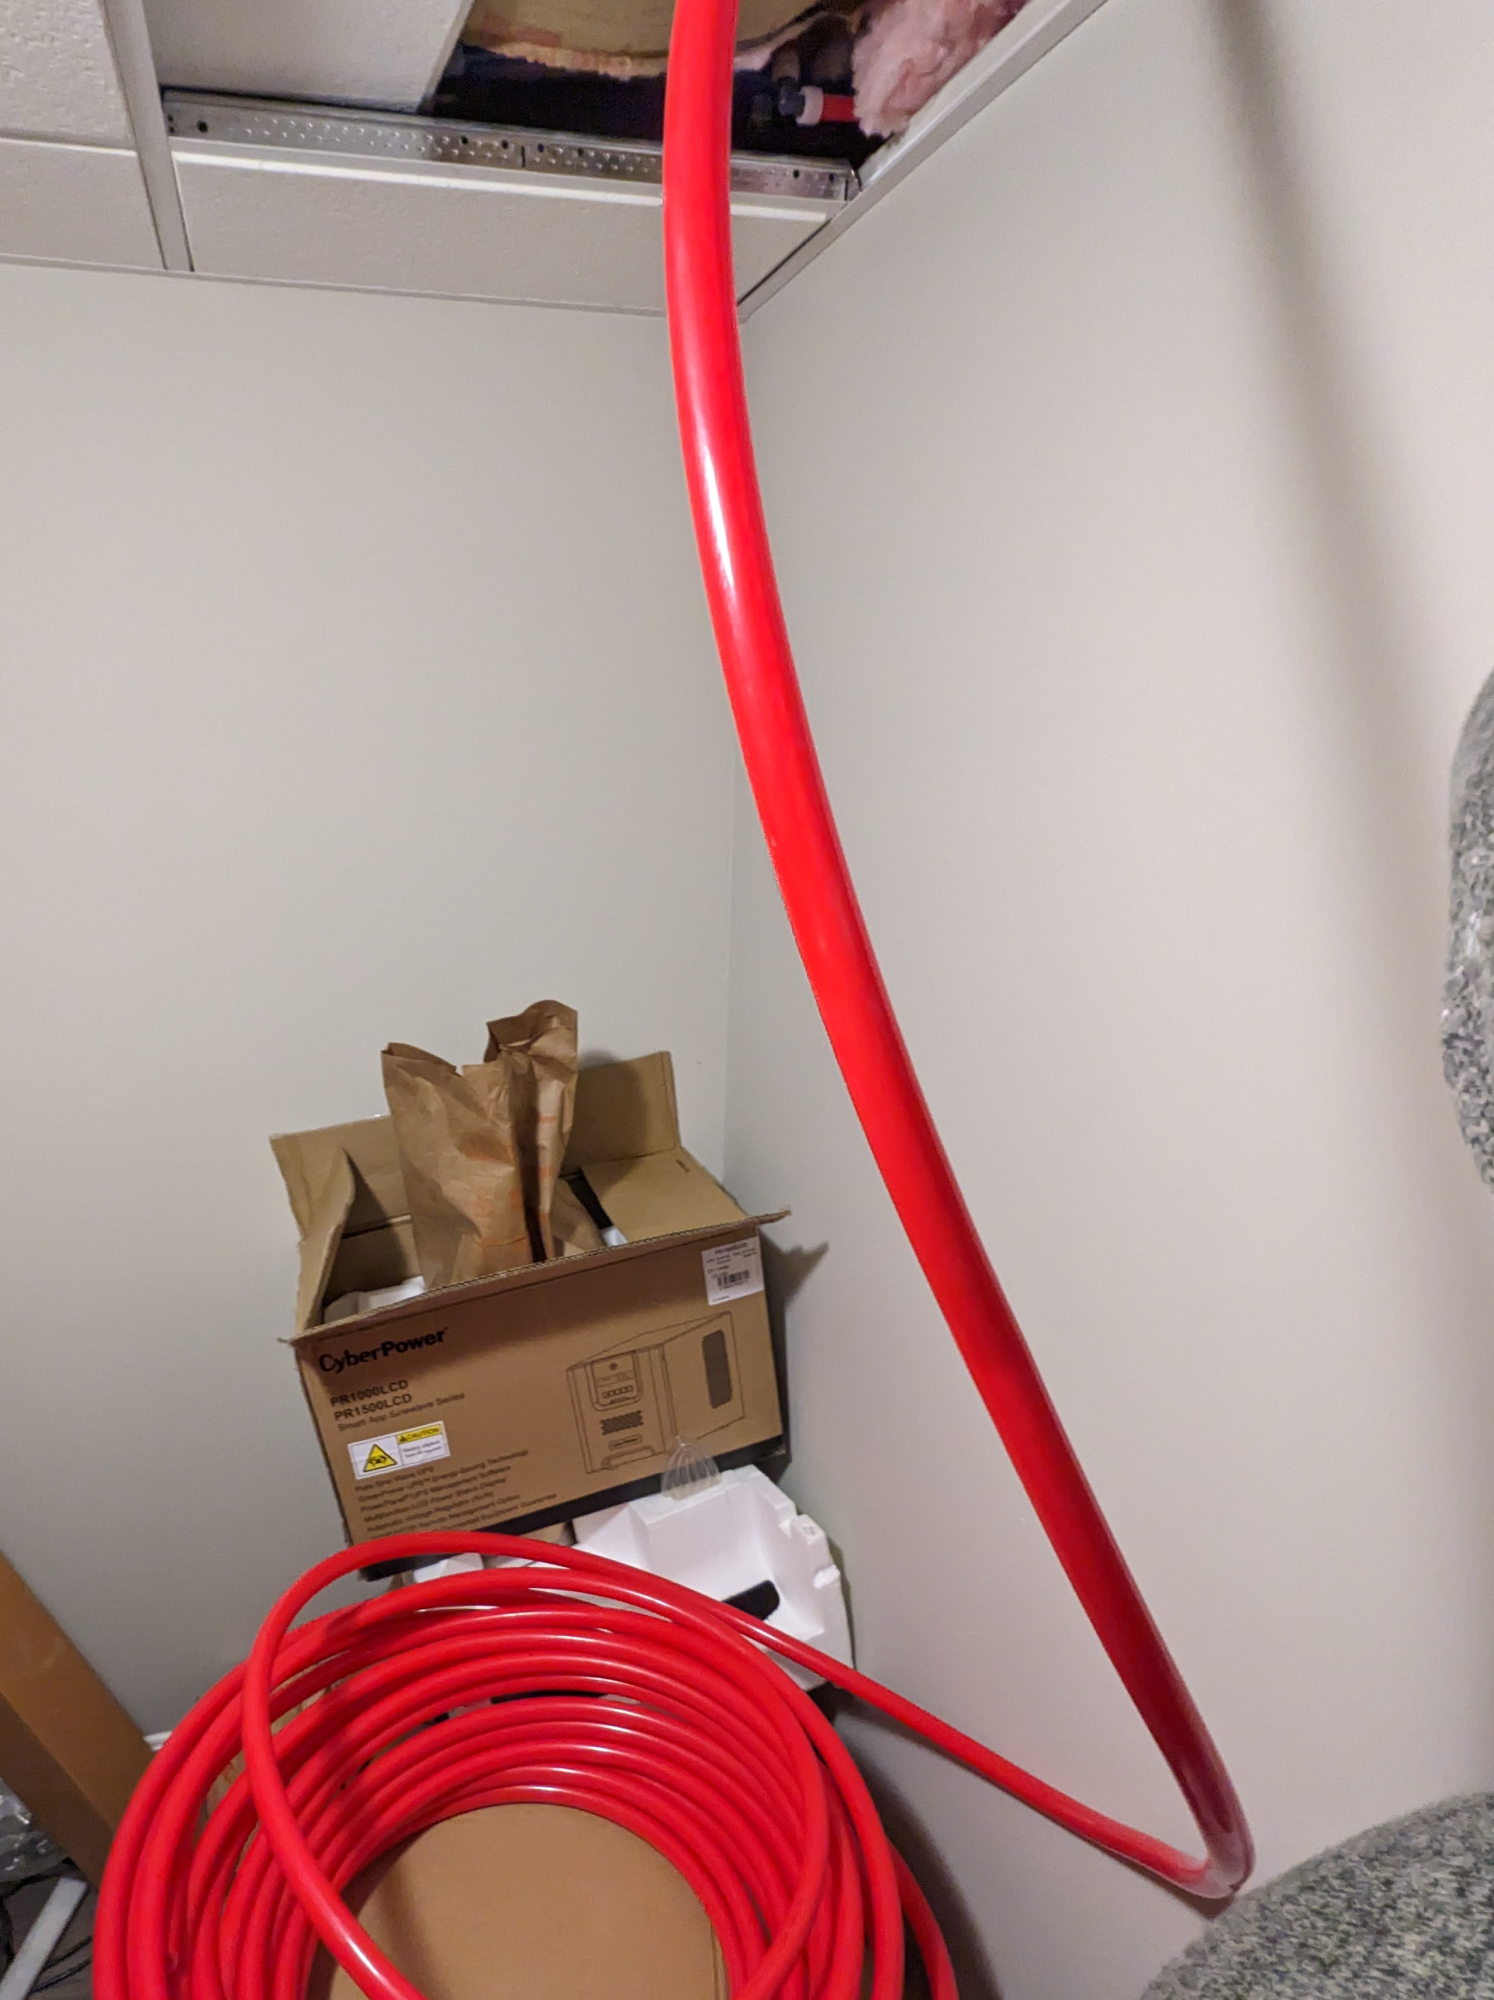
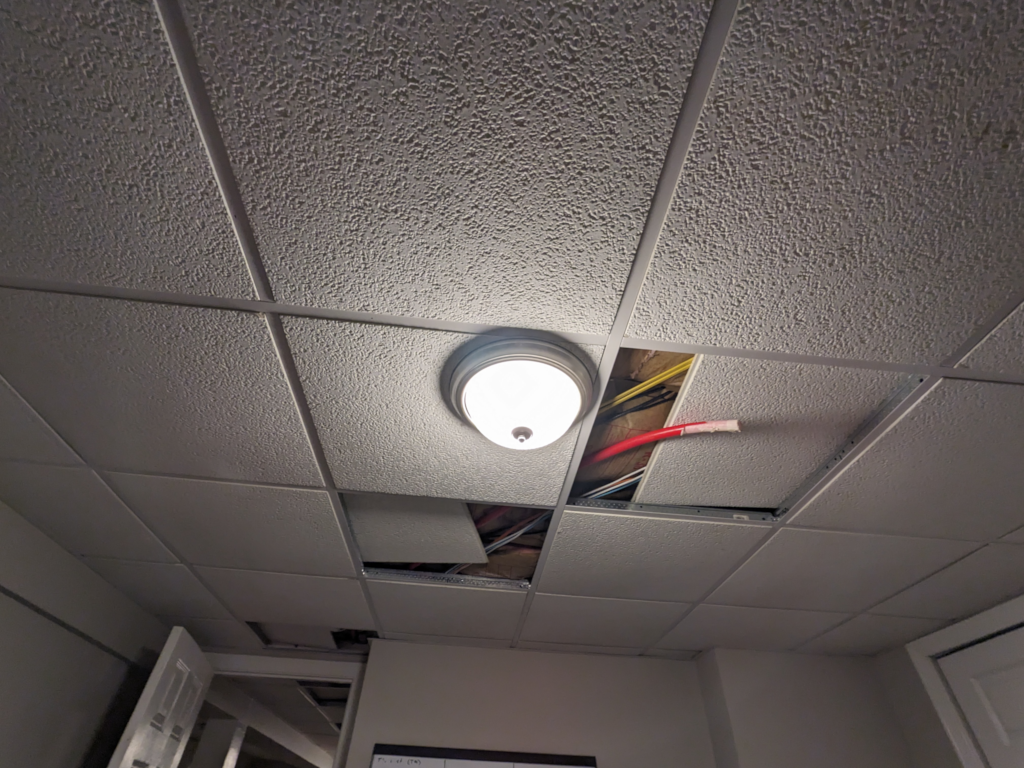
- This "different room" will be my "server closet" which is about 50 ft away on the other side of the finished basement.
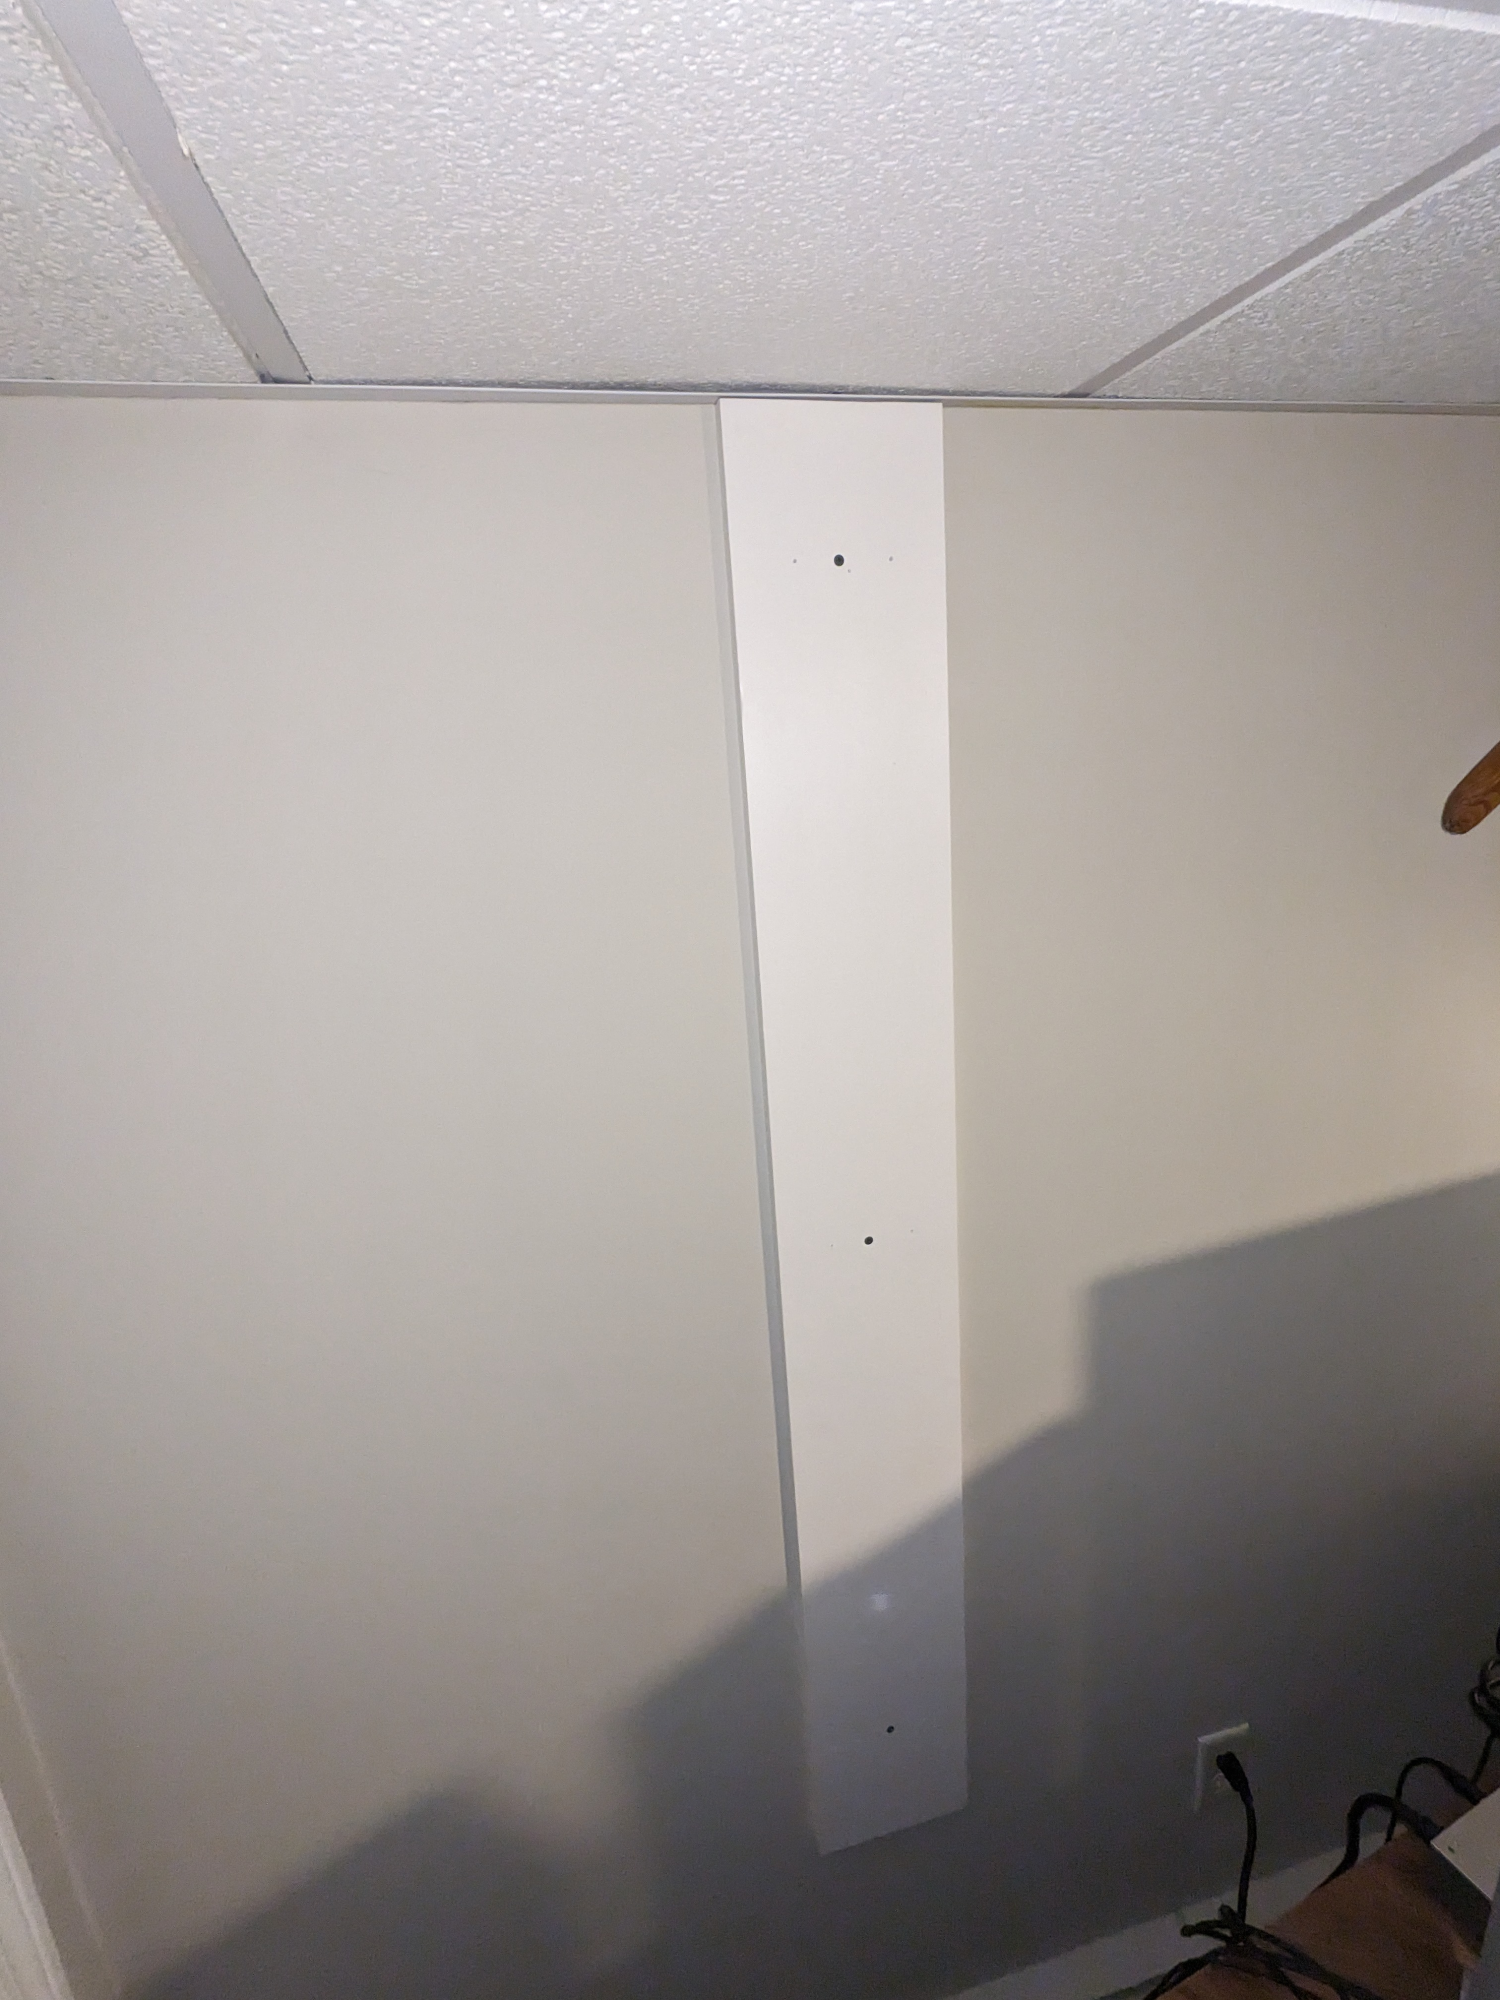
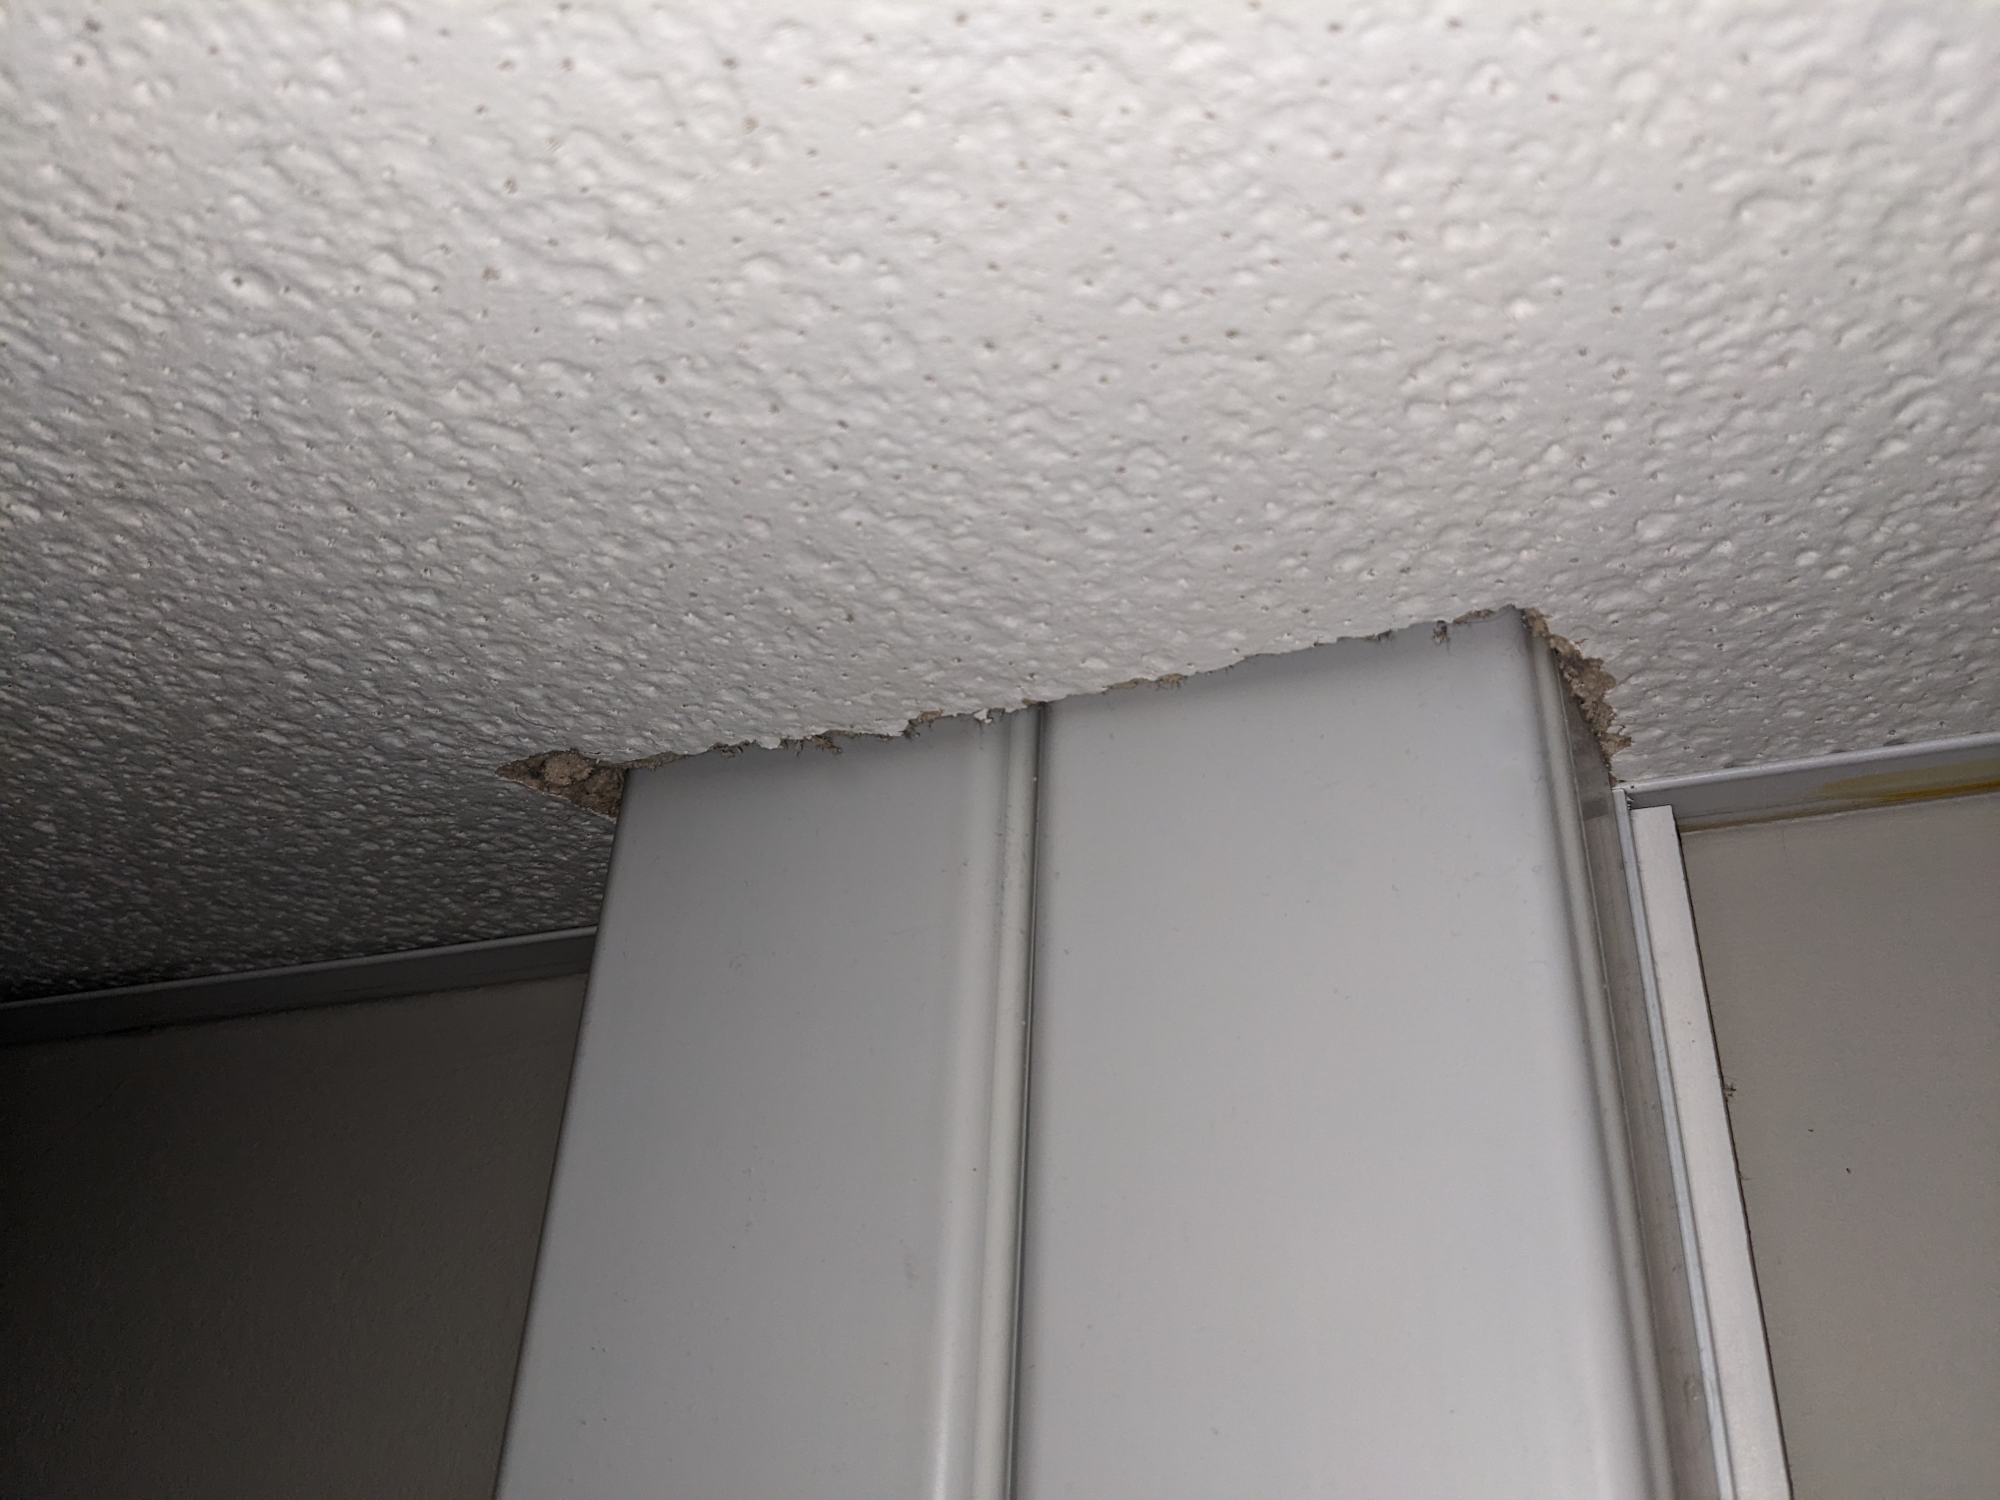
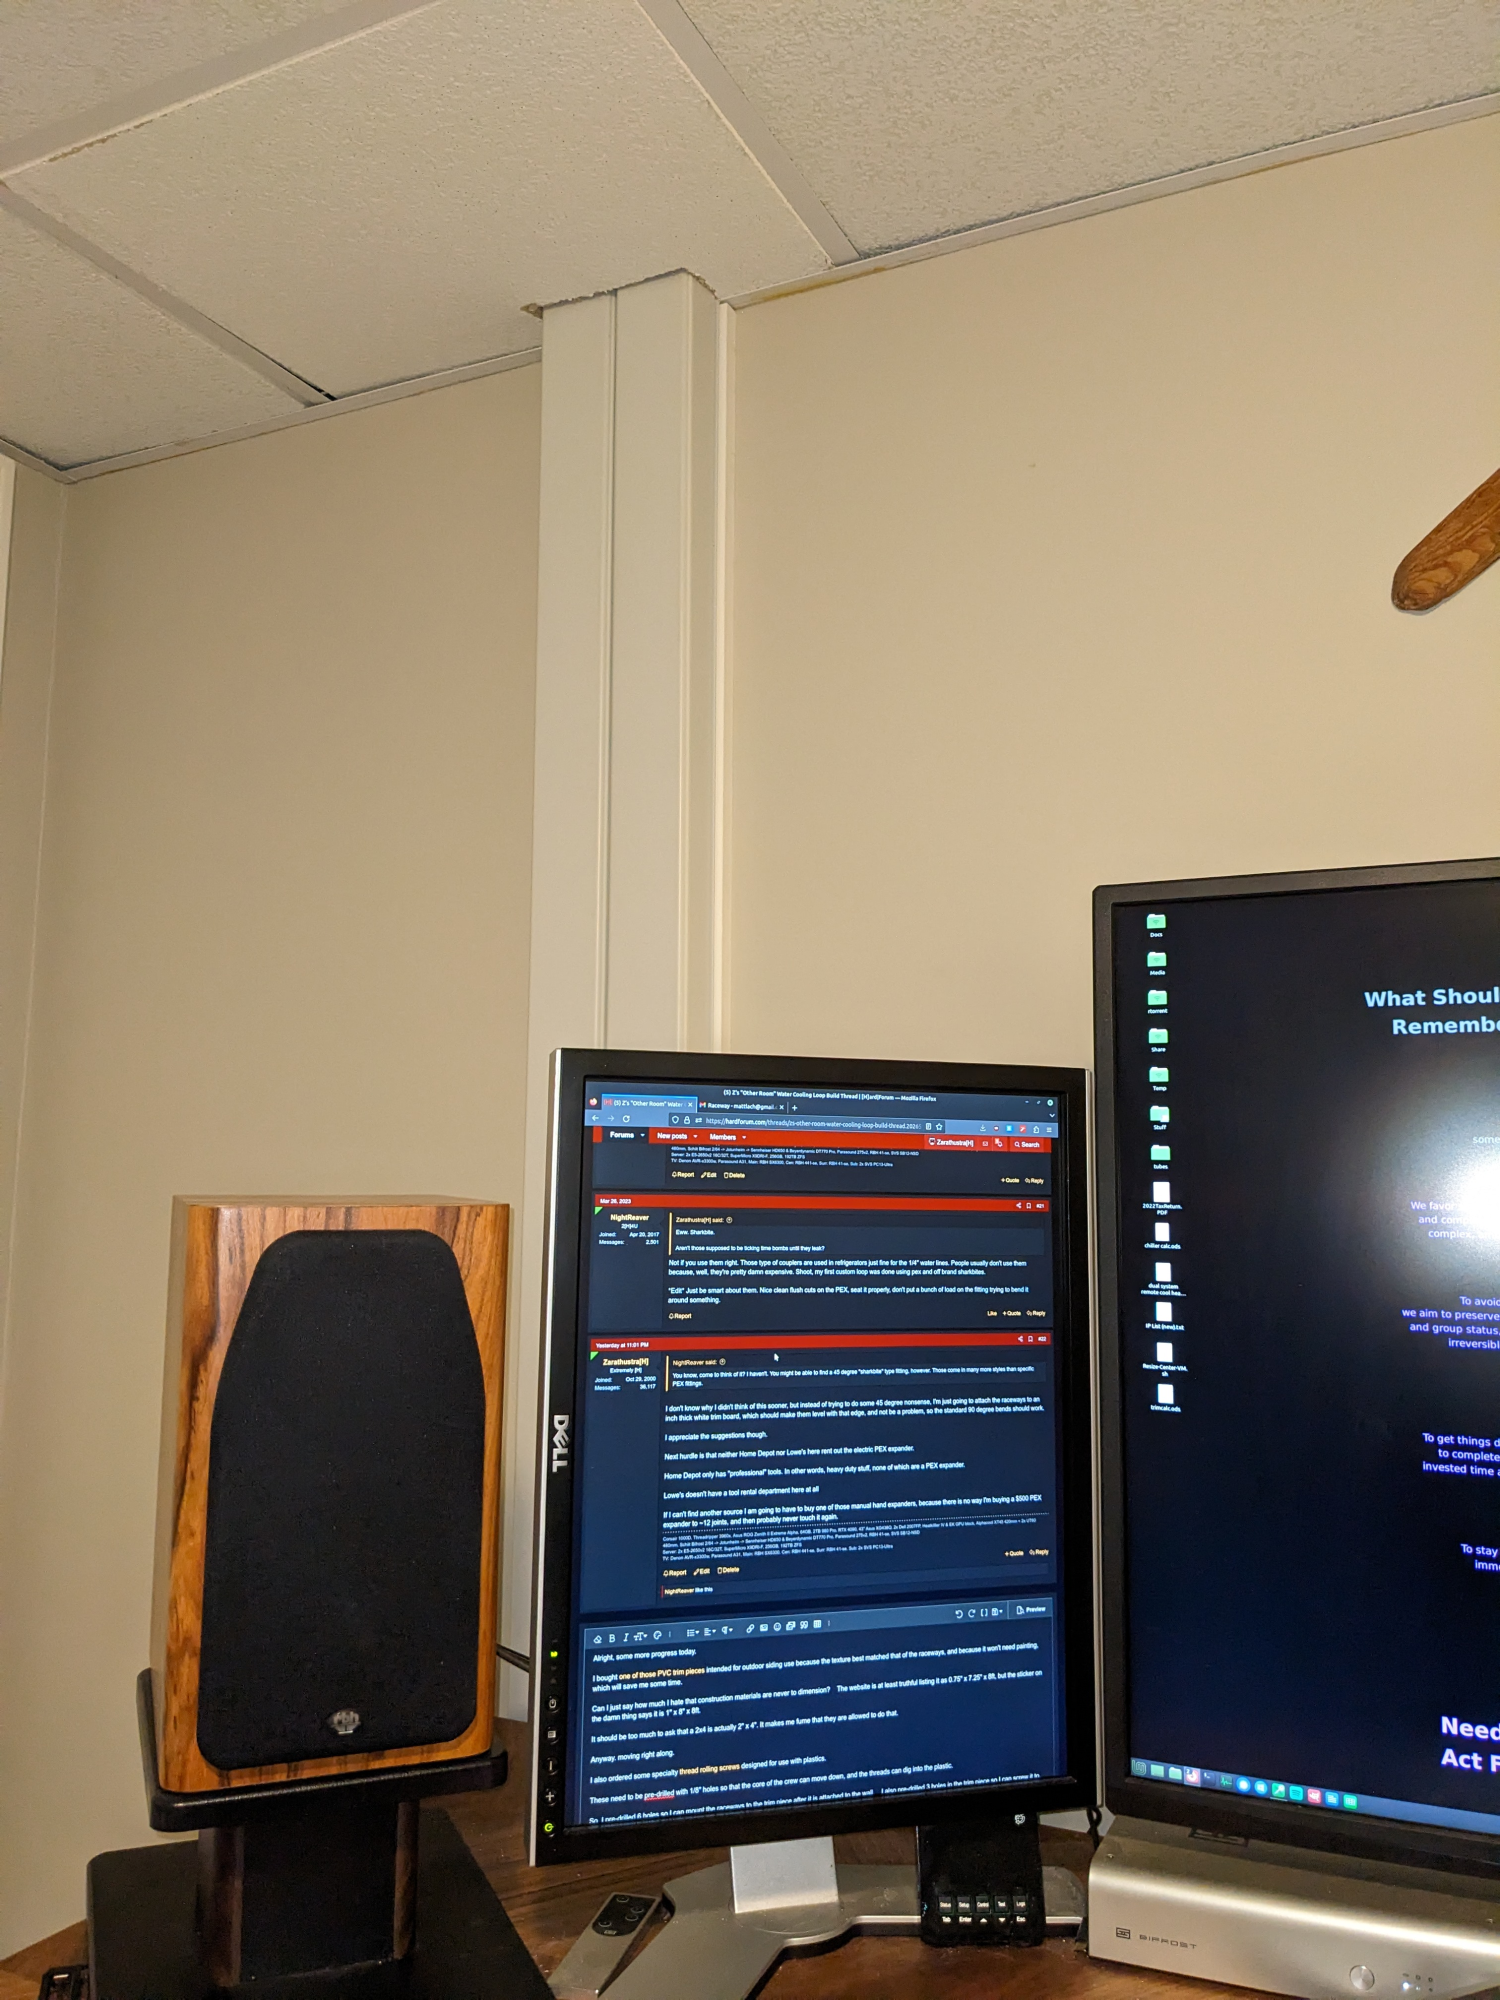
- Luckily the finished basement has drop ceiling panels, so running tubing up there should be relatively easy.
- Cooling may just be high speed fans and radiators, but if I am feeling like it when the time comes it may even be water chiller based.
- Loop will be a "two loop" solution.
- One long loop (pumped from reservoir in other room to office, pass through CPU and GPU block, and return back to other room back into reservoir)
- One short loop (pumped from reservoir to radiator/chiller and back to reservoir)
Slightly more details:
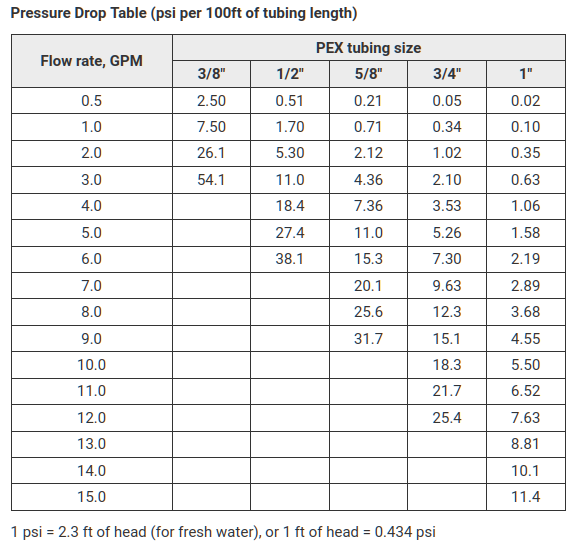
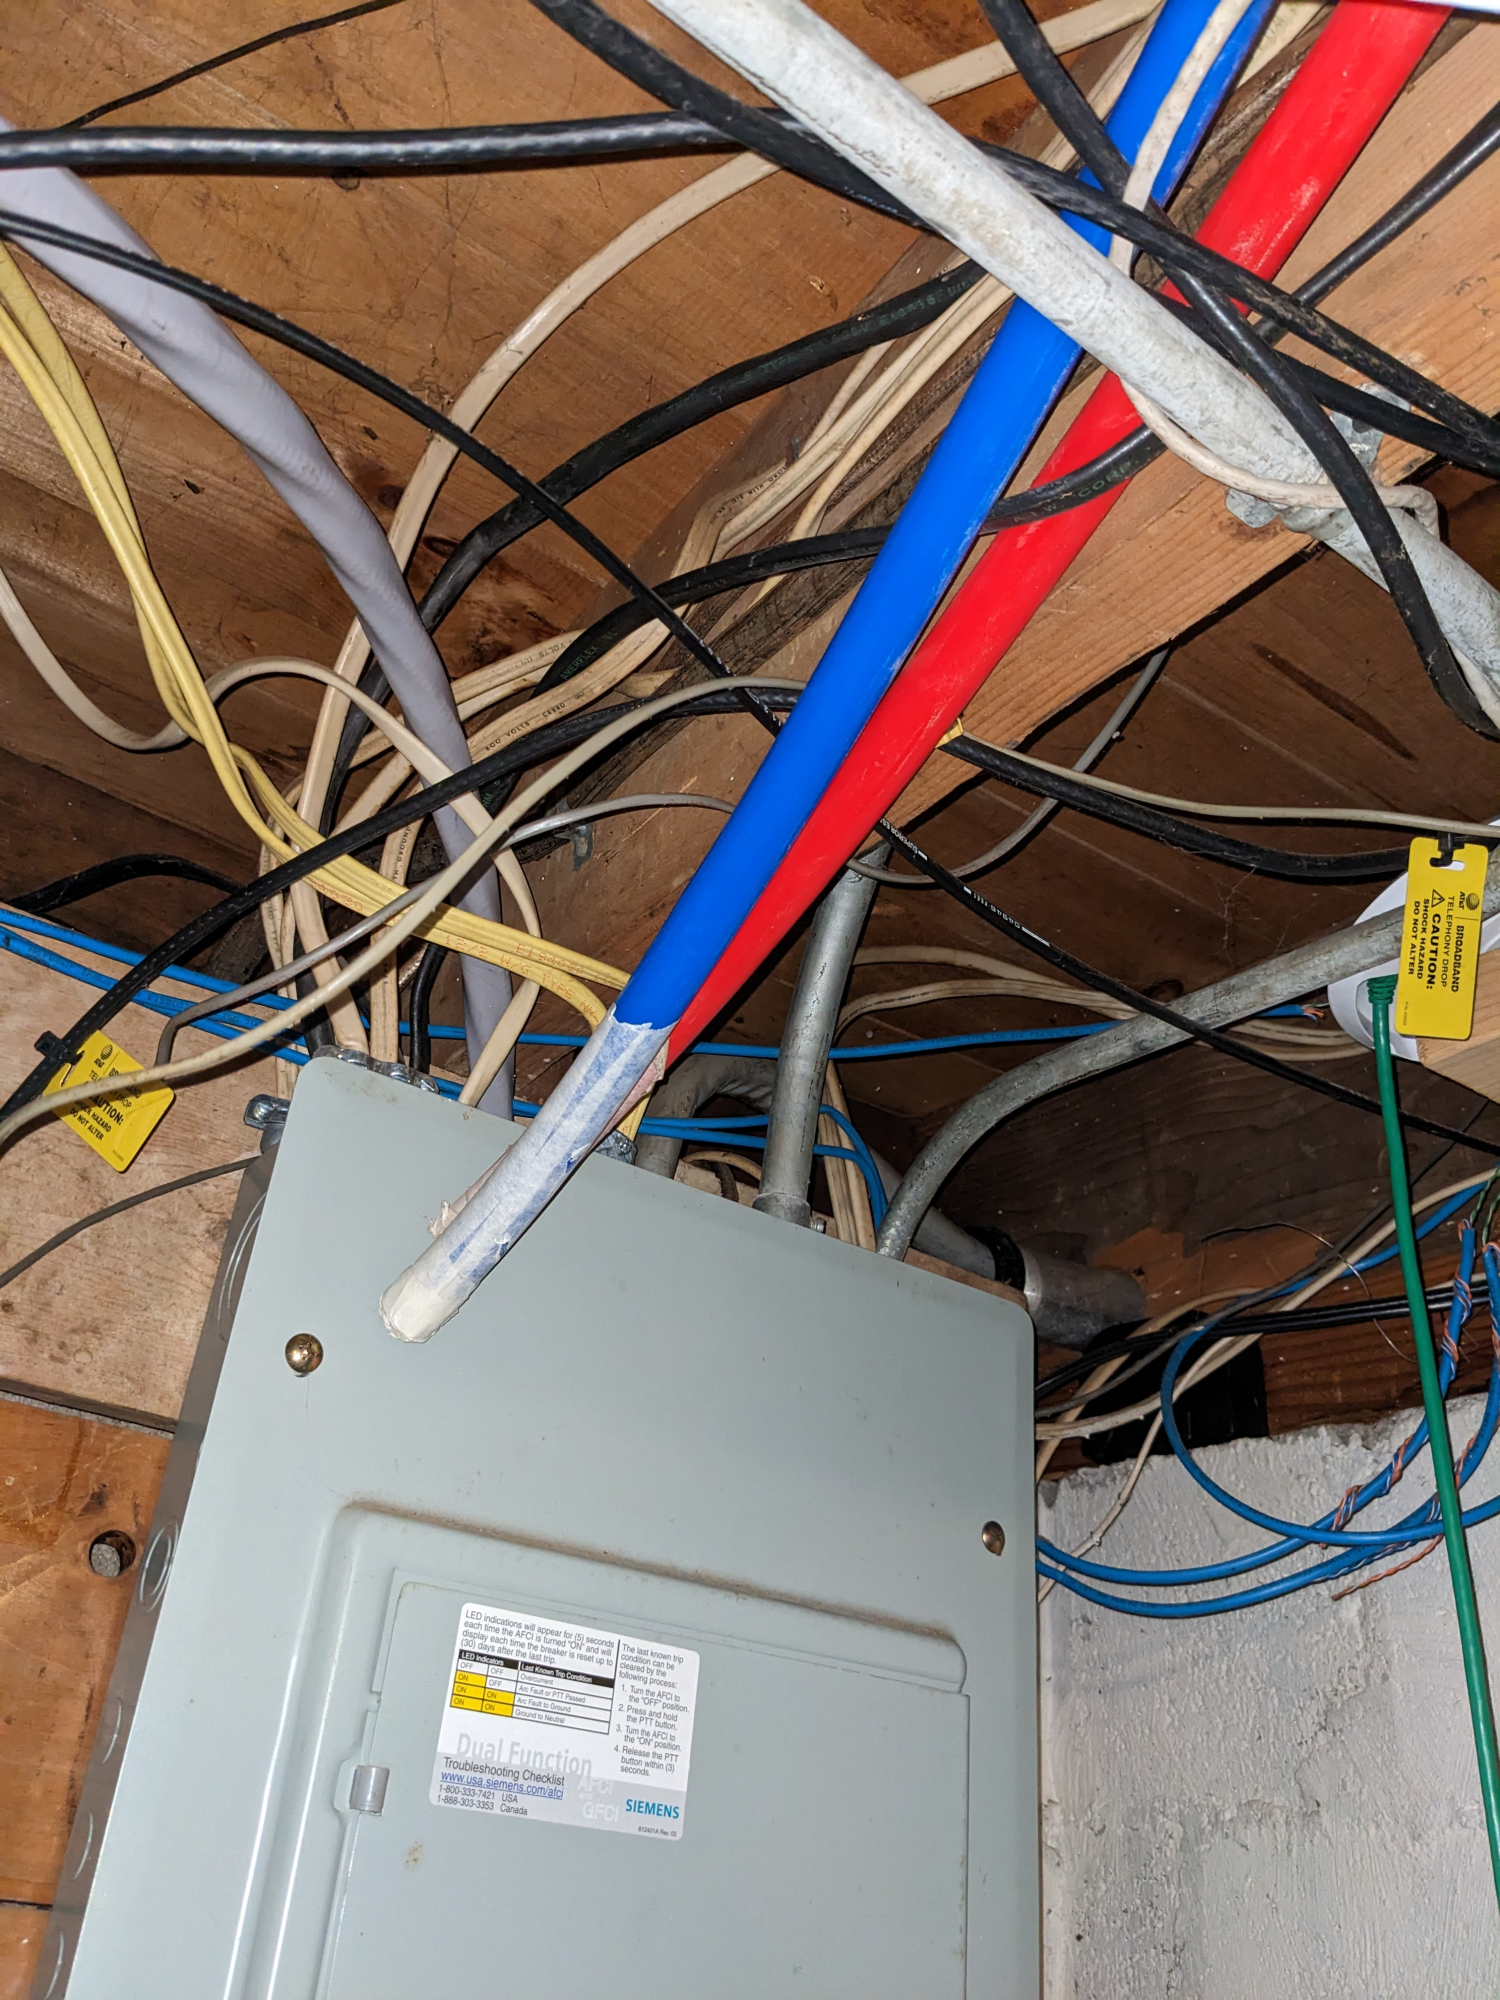
- I was originally going to use a soft Tygon-like tubing, but after discussing it in this thread I decided to go with PEX. Further research made me land more specifically on PEX-A, as I'm pretty sure the extended length of this loop will challenge my pump capacity, and PEX A has less flow restriction as fittings stretch the PEX out, instead of fit inside it, like PEX-B does.
- The plan is to use dual D5's for the big loop, and a single D5 for the short loop. I will be using PWM controlled D5 pumps, as I don't want them going full blast at all times. This means I'll have to run a PWM wire from my office to the remote room to control the pumps. This may or may not wind up working well. After discussing it here, I have decided to send the PWM signal either via a CAT-6a or better cable, or a coaxial cable, and hopefully the signal remains intact the 50+ft it will take to get there. In order to keep a shared ground, I am going to power those two pumps from my PC's power supply. I'll probably use normal solid electrical wire to carry the +12v and ground from my PC to the other room, and hope the voltage doesn't drop too much. Worse comes to worse, I may be able to use an ebay sourced cheap DC-DC boost converter to pull the voltage back up to 12v on the other end. Time will tell if that will be needed.
- I'm hoping to wind up using two water chillers. One small, quiet and power sipping one for idle or near idle power loads, and a second big, powerful, and potentially loud and power wasting one to supplement at high loads. I had been looking at the Hailea chillers they had on Performance PC's, but they have been out of stock forever now, and it seems unlikely they will come back into stock. I'll have to do more research to figure out which to use, but there seem to be a bunch of different models on Amazon to choose from. This may wind up being too much though, and I may fall back on just "lots of radiators and fans" instead. Time will tell.
- With the water chiller, I'd probably wind up running slightly sub-ambient. You know, below ambient, but above the dew-point, to avoid condensation. This adds some design challenges. Firstly, I'm going to want to insulate the PEX so I don't suck up too much ambient heat in transit.
- Secondly, compressors don't like rapidly switching off and on again, as this can damage the compressor. Most of them have electroic controls for this, that refuse to turn back on until a certain amount of time has passed (usually 3min?) since last shutoff. I want the system to be able to control the water temperature to within ~1C. This means that I need to have a large enough amount of water that even if the PC is dumping heat into it at full load (~900w?) I won't raise the average temperature of the coolant more than 1C in 3 minutes when the chiller is off.
- Initial heat transfer calculations suggest I'll need about 10gallons of coolant in order to limit it to a rise of 1C in 3 min with a load of 900w, but it's not quite as bad as that. Firstly, there'd be two chillers. Presumably if the big one turns off, the small one will keep running. Assuming the small one keeps removing about 250w of heat even when the big one turns off, that means I only have to deal with 650W, not 900W. This means I've now reduced my coolant needs to about 7.4 gallons. Add to that, the 900W is an absolute worst case power load for my system, which probably won't happen very often, even in an intense gaming or rendering session.
- Still, this means I am going to need a large reservoir. I am considering using a 6.5 Gallon wide mouth glass carboy usually sold for home brewing purposes. Using a specialty drill bit, I'd drill holes in the bottom and install bulkhead fittings to allow me to hook up tubing. The 6.5 gallons may not be quite enough, but there will also be just over 2 gallons in the tubing at any given time (according to my calculations) so it should be sufficient.
- I don't want to absorb too much heat into the glass carboy, so it will have to be insulated. I haven't measured things yet, but I think it should fit inside a small 20 gallon Brute professional trash bin. I'll throw together some sort of support structure (probably criss-crossed 2x4 scrap pieces) in the bottom, then put the carboy in on top and insulate under and around it using spray insulation foam. I'd then also glue some insulation to the lid, as well as cut holes in the bottom and the top for tubing to go through.
So, this is pretty much the plan thus far. I'm pretty sure that as I start working on it, reality will set in, and the plan will change several times, but at least this expresses where I am trying to go with it. I will post pictures and progress as I go along, but as I mentioned, it will be slow moving.
For some time now (think years, if not a decade) I've been toying with the "what if" idea of, what if I just built a large enough water loop that I could relegate all fan noise to another room, and finally compute in actual silence.
In this thread I mentioned that I was probably about to either give up on water cooling, or double down on it. I think I have decided to double down.
When I got my Threadripper which outputs a good amount of heat, I thought about this more. And then once I picked up my XTX 6900xt EKWB edition which I overclocked such that it put out 430w for just the GPU, I became even more interested in this concept. Replacing the 6900xt with a 4090 has not improved things.
Not only can I get rid of that pesky fan and pump noise, but I can also sit in a room that is not stupidly hot in the summer due to having a 1000+w combined power output.
This build will be documented here in this thread AND in the Hardforums. The build will progress slowly, so don't expect frequent updates. A little here, a little there should do it. I may be done in a few months, or it may take a couple of years. Not sure yet. It depends on how much time I have and what the budget looks like over time.
I'm usually someone who thinks about my projects for a long time before I execute, and the planning phase is usually much longer for a big project, so to say I have given this some thought is a real understatement.
The high level plan:
- Build a water loop that has only the blocks in my office. All noise and heat emitting parts of the loop are in a different room.
- This "different room" will be my "server closet" which is about 50 ft away on the other side of the finished basement.
- Luckily the finished basement has drop ceiling panels, so running tubing up there should be relatively easy.
- Cooling may just be high speed fans and radiators, but if I am feeling like it when the time comes it may even be water chiller based.
- Loop will be a "two loop" solution.
- One long loop (pumped from reservoir in other room to office, pass through CPU and GPU block, and return back to other room back into reservoir)
- One short loop (pumped from reservoir to radiator/chiller and back to reservoir)
Slightly more details:
- I was originally going to use a soft Tygon-like tubing, but after discussing it in this thread I decided to go with PEX. Further research made me land more specifically on PEX-A, as I'm pretty sure the extended length of this loop will challenge my pump capacity, and PEX A has less flow restriction as fittings stretch the PEX out, instead of fit inside it, like PEX-B does.
- The plan is to use dual D5's for the big loop, and a single D5 for the short loop. I will be using PWM controlled D5 pumps, as I don't want them going full blast at all times. This means I'll have to run a PWM wire from my office to the remote room to control the pumps. This may or may not wind up working well. After discussing it here, I have decided to send the PWM signal either via a CAT-6a or better cable, or a coaxial cable, and hopefully the signal remains intact the 50+ft it will take to get there. In order to keep a shared ground, I am going to power those two pumps from my PC's power supply. I'll probably use normal solid electrical wire to carry the +12v and ground from my PC to the other room, and hope the voltage doesn't drop too much. Worse comes to worse, I may be able to use an ebay sourced cheap DC-DC boost converter to pull the voltage back up to 12v on the other end. Time will tell if that will be needed.
- I'm hoping to wind up using two water chillers. One small, quiet and power sipping one for idle or near idle power loads, and a second big, powerful, and potentially loud and power wasting one to supplement at high loads. I had been looking at the Hailea chillers they had on Performance PC's, but they have been out of stock forever now, and it seems unlikely they will come back into stock. I'll have to do more research to figure out which to use, but there seem to be a bunch of different models on Amazon to choose from. This may wind up being too much though, and I may fall back on just "lots of radiators and fans" instead. Time will tell.
- With the water chiller, I'd probably wind up running slightly sub-ambient. You know, below ambient, but above the dew-point, to avoid condensation. This adds some design challenges. Firstly, I'm going to want to insulate the PEX so I don't suck up too much ambient heat in transit.
- Secondly, compressors don't like rapidly switching off and on again, as this can damage the compressor. Most of them have electroic controls for this, that refuse to turn back on until a certain amount of time has passed (usually 3min?) since last shutoff. I want the system to be able to control the water temperature to within ~1C. This means that I need to have a large enough amount of water that even if the PC is dumping heat into it at full load (~900w?) I won't raise the average temperature of the coolant more than 1C in 3 minutes when the chiller is off.
- Initial heat transfer calculations suggest I'll need about 10gallons of coolant in order to limit it to a rise of 1C in 3 min with a load of 900w, but it's not quite as bad as that. Firstly, there'd be two chillers. Presumably if the big one turns off, the small one will keep running. Assuming the small one keeps removing about 250w of heat even when the big one turns off, that means I only have to deal with 650W, not 900W. This means I've now reduced my coolant needs to about 7.4 gallons. Add to that, the 900W is an absolute worst case power load for my system, which probably won't happen very often, even in an intense gaming or rendering session.
- Still, this means I am going to need a large reservoir. I am considering using a 6.5 Gallon wide mouth glass carboy usually sold for home brewing purposes. Using a specialty drill bit, I'd drill holes in the bottom and install bulkhead fittings to allow me to hook up tubing. The 6.5 gallons may not be quite enough, but there will also be just over 2 gallons in the tubing at any given time (according to my calculations) so it should be sufficient.
- I don't want to absorb too much heat into the glass carboy, so it will have to be insulated. I haven't measured things yet, but I think it should fit inside a small 20 gallon Brute professional trash bin. I'll throw together some sort of support structure (probably criss-crossed 2x4 scrap pieces) in the bottom, then put the carboy in on top and insulate under and around it using spray insulation foam. I'd then also glue some insulation to the lid, as well as cut holes in the bottom and the top for tubing to go through.
So, this is pretty much the plan thus far. I'm pretty sure that as I start working on it, reality will set in, and the plan will change several times, but at least this expresses where I am trying to go with it. I will post pictures and progress as I go along, but as I mentioned, it will be slow moving.


")