Z's 4090 Thread

I am thankful that MSI does warranty right.

I ahve had other vendors fight me over less when it comes to Warranty, and MSI just did the right thing, no questions asked. This makes me want to buy from them in the future!

So, I repeated the steps from the previous post and fast forwarded to the same spot.

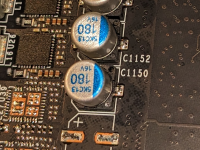
Here is the same CAP on the replacement board:
1674969158547.png

As you can see, the solder is wetted all the way around the leg and it looks like it makes good contact!


The EKWB block comes semi-assembled to itself, with a faux paper GPU installed in the middle.

You have to loosen the screws on the backplate and lift it out. Each of the screws has a little plastic standoff installed on it on the other side of the backplate. That standoff is needed, so DON'T do what I did, and pull the screws out the top. The standoffs will be forced off the screws, and then you have to hunt them down and reinstall them.
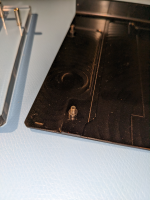
1674969681841.png


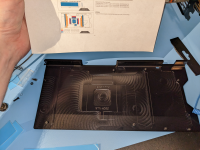
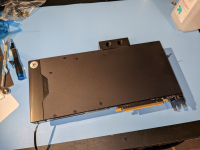
This is what the back of the block looks like:
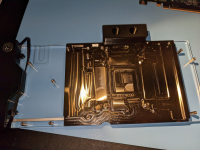
1674969447423.png

I'm used to the mating surface of coolers being a little better polished than this. The tool marks are really kind of rough, but I'm sure it will work. I'm in no mood to lap the water block.
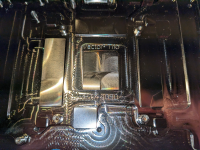
1674969502000.png

Here is the backplate once removed. Time to install thermal pads, clean the chip, put some paste on it, and assemble the whole thing.
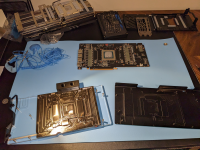
1674969605717.png
 
First annoyance with the EKWB block.

With shipping and tax I paid $316.67 for this water block, and they actually expect me to cut all of the thermal pads myself, and on the bback plate you have to cut them into not entirely basic shapes....

These things should have been die cut, and maybe even pre-installed...

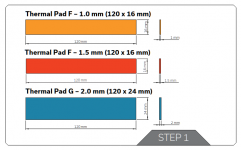
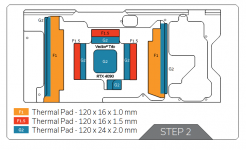
Also, the manual says they come in three different sizes:

1674969944114.png

All of mine were 24mm wide though.

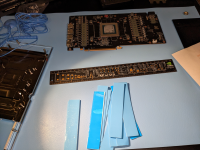
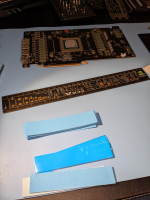
The important part - I guess - is that I did get all three thicknesses, but they weren't necessarily super easy to tell apart.

1674970049258.png

But I got them sorted :p

1674970102165.png


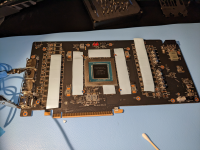
Here we have the thermal pads on the board installed, and the die cleaned. All of these are the 1.0mm thick versions:

1674970186048.png
 
Last edited:
In the past EK blocks came with their own EK branded paste. It was probably just someone elses paste they put their own sticker on, but who knows. Maybe they formulated it themselves.

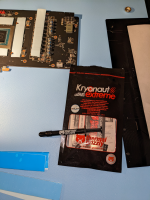
This EK water block came with a tube of Thermal Grizzly Kryonaut. I didn't know this was going to be the case, so I had already bought a syringe of the relatively new Kryonaut Extreme to use. I decided to use it, and throw the little tube of included Kryonaut in my parts bin.

1674970351522.png

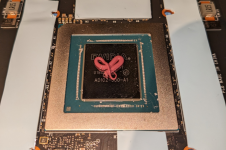
To my surprise the newish Kryonaut Extreme is pink.

And it accidentally (I promise) came out of the tube in somewhat of a heart shape:

1674970463121.png

I guess this is my "Weighted Companion GPU"

Kryonaut is notoriously difficult to work with, as it is very viscous. Heating the syringe with my wifes hair dryer for a few minutes before use makes it easier.

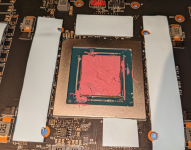
Because this stuff is so viscous, I don't rely on the pea rice or cross methods anymore, but rather spread it as thinly as I can across the die. To do this I wear a nitrile glove, clean it with alcohol and antistatic strap myself (read up on how to do this properly, you want you and the thing you are working on to share a ground, not necessarily ground yourself to the grid) and use my finger to smear it around the die.

If you heat the tube enough this is relatively easy. Being that this is winter in New England, and my office is a toasty 67 degrees, it cooled down way too fast, and because of it got thick, difficult to manage and a little messy, but it should do the trick:
1674970720833.png

After this, the block (after a quick alcohol wash to make sure there is no grease on it just plops on top of the prepped GPU board, and you tighten down your screws. Forgot to take a pic of this though. (oops)

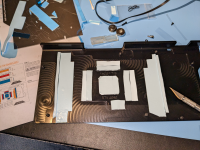
Now comes th epiddly arts and crafts step I hate. The thermal pads have particular shapes and you have to place them on the backplate just right.

1674970890370.png

The manual helps, but it isn't spectacular:

1674970968351.png


I couldn't tell if they really wanted me to overlap the thick 2mm pad over the thin 1mm pad, so I just put them side by side. I hope I get good coverage of the components...


1674971169262.png
 
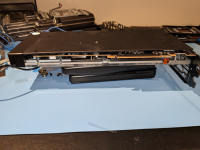
Now we have to screw the backplate on.

Thanks to the kit not including a replacement PCIe slot plate, I have to do this with the three slot version, with one of the two crews installed in the previous steps, and one installed in this step.

I found a use for my TI-85 and TI-89 calculators :p

1674971311582.png

Never mind the crap on the back of the backplate. It's just little smudged pieces of thermal tape from my "arts and crafts" session and will wipe right off.

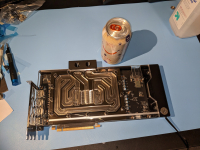
So here we are, all installed:

1674971406914.png

1674971452833.png
 
Time to flush some distilled water (and a drop of dish soap) through the block overnight to clean it out before first use:

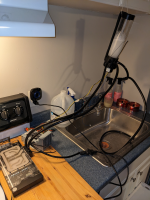
I have an extra kitchen in the basement I used for this. (the previous owners turned the downstairs into an open concept apartment with a ****ty kitchen. At some point this is going to be my home theater room, but for now I use it as a spare workbench,)

I just hook up my old Pump/Res combo I don't use anymore , fill it up with distilled water and a single drop of Dawn and let it go overnight.

1674971778948.png

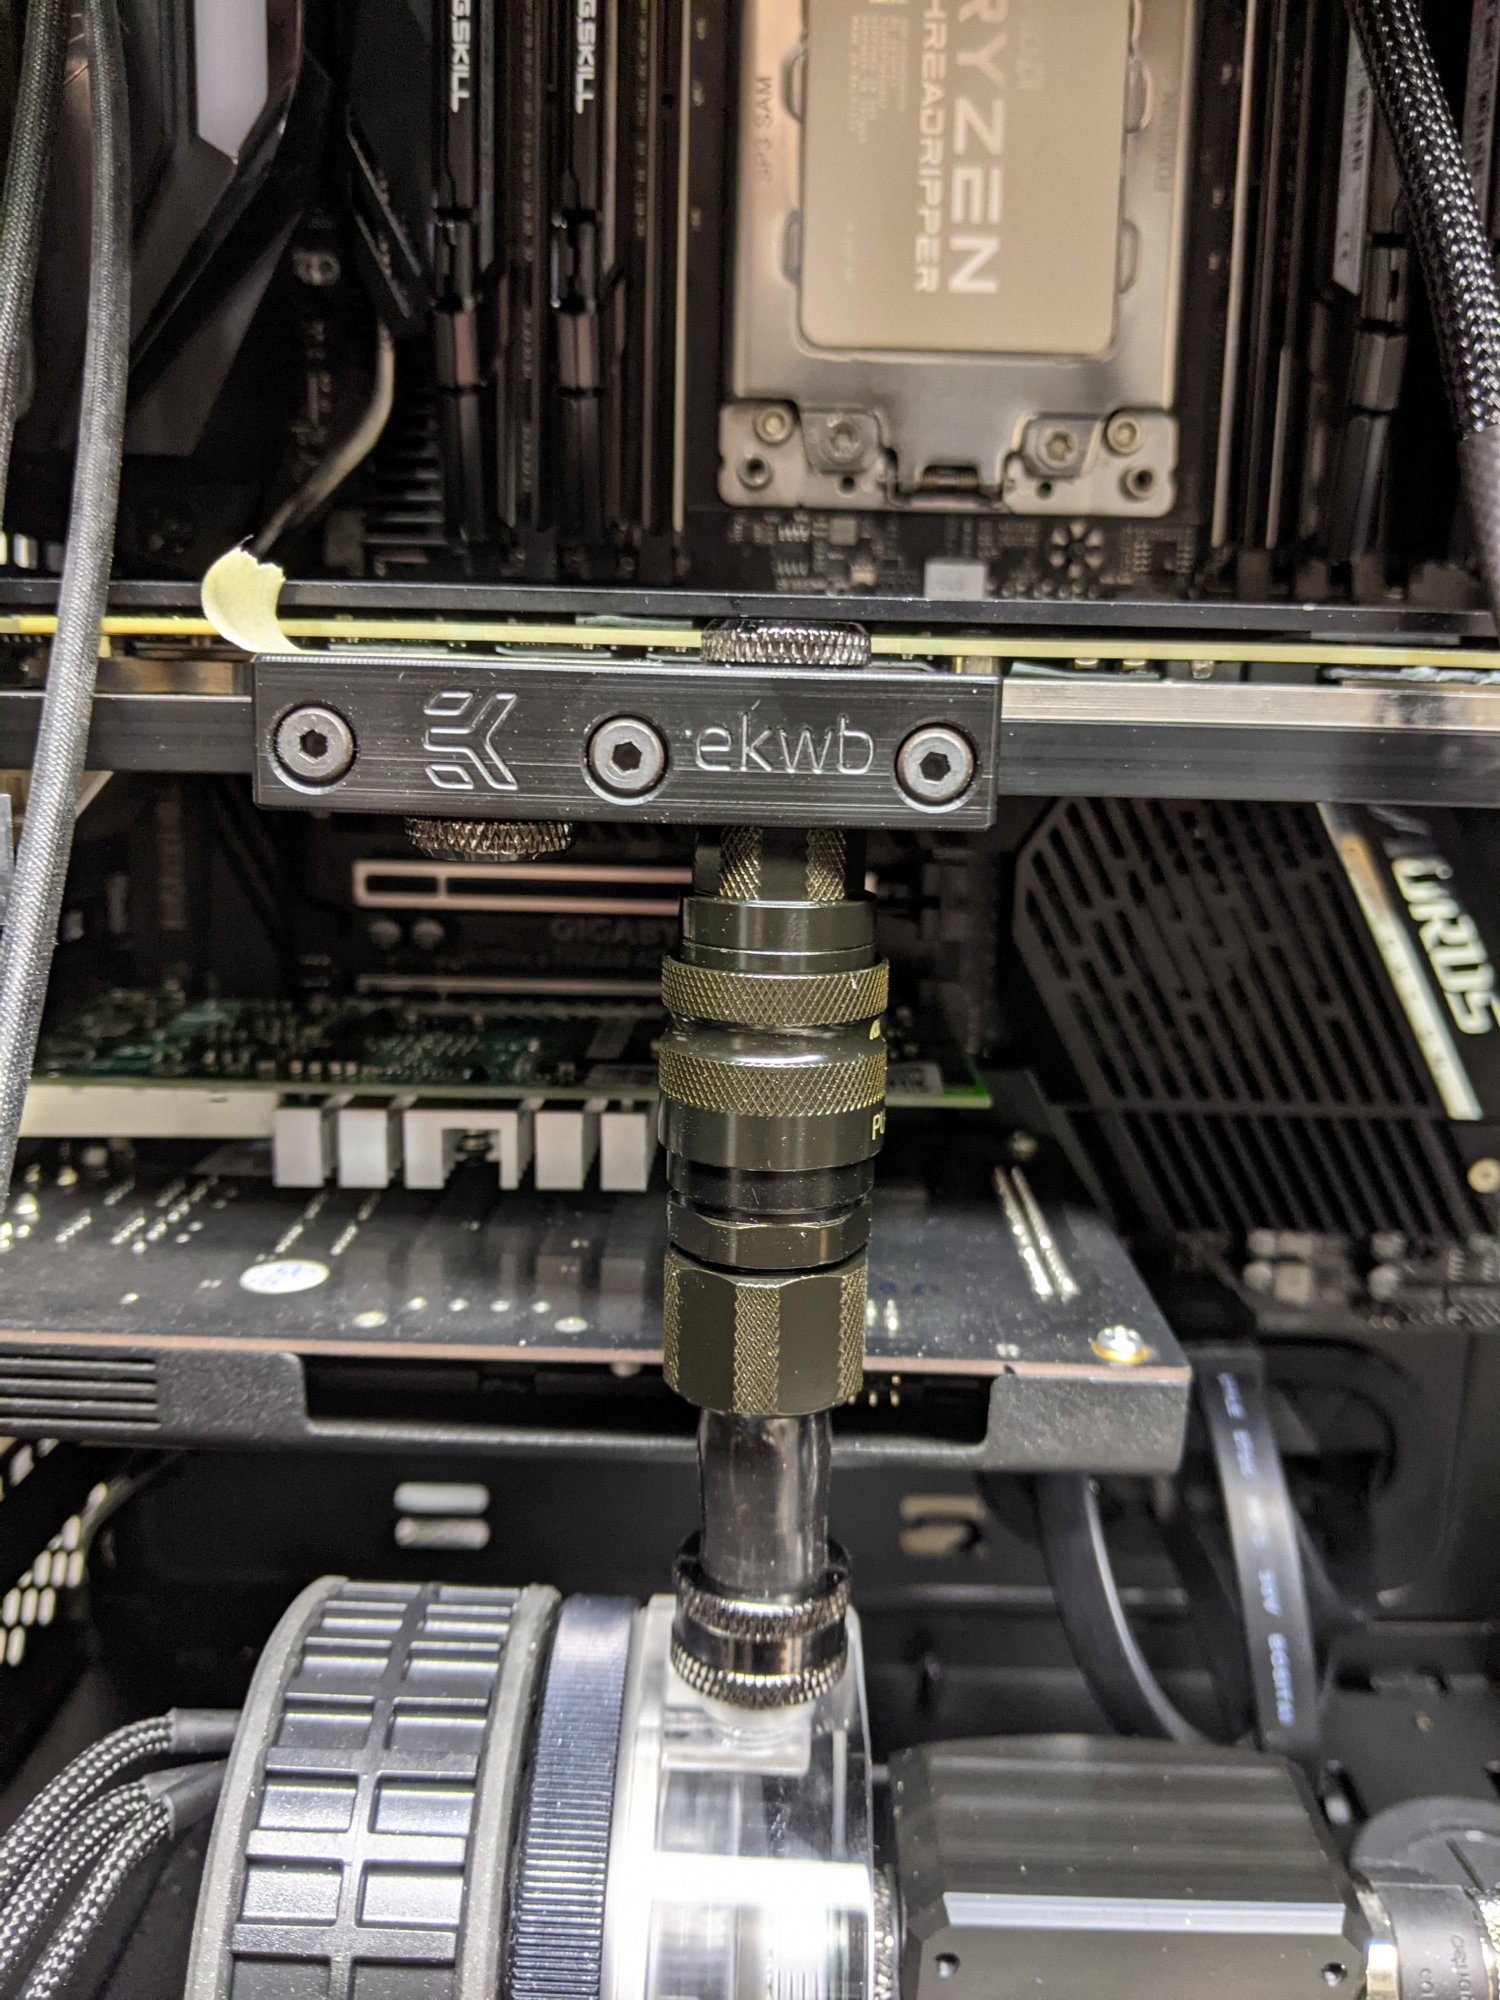
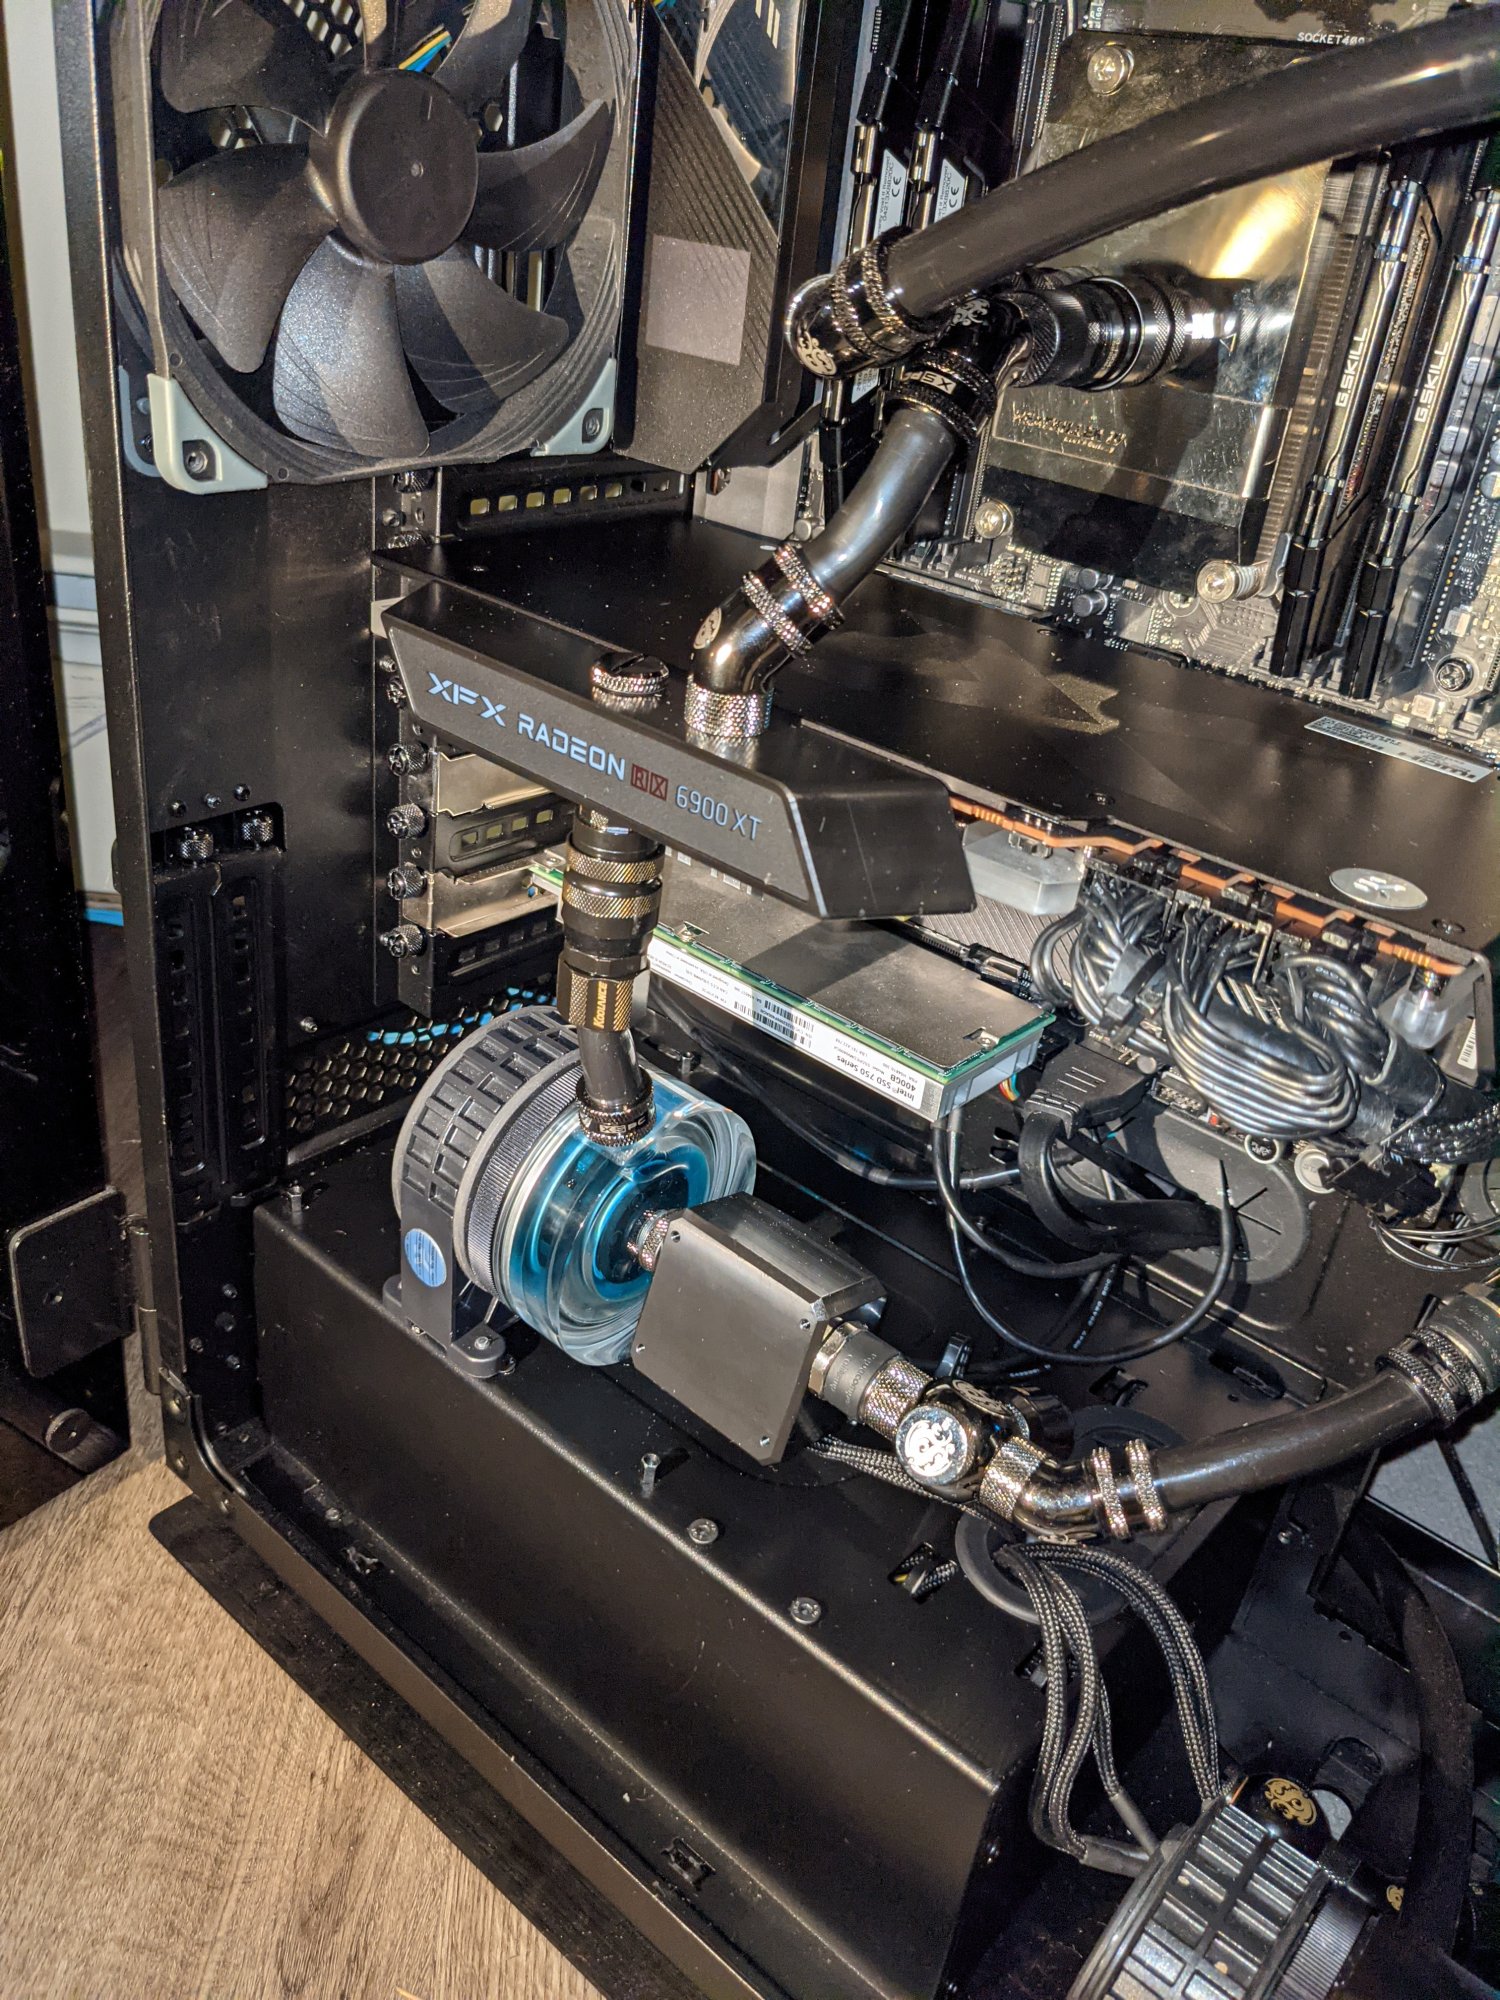
Tomorrow I need to drill new mounting holes for my pump (because my silly loop goes straight from the pump to the GPU and thus when th eports on the GPU move, the pump needs to move.

I did this once before when I upgraded from the Pascal Titan X to the 6900xt:

513417_406725_PXL_20201202_225903179.jpg


515629_PXL_20211011_022201430.jpg


Luckily with how popular hard tubes and distribution plates have become, there is a new standard for GPU water block port locations that EK has decided to adhere to (EK calls it EK-Matrix 7), so while I use neither distro plates or hard tubes, I will still benefit, and hopefully this will be the last time I drill new holes for my pump :p

And that will be it for tonight. Hopefully I don't get distracted tomorrow and can finish it and get it installed.

The plan is to:

1.) Flush GPU block with clean distilled water to get the dawn and any junk out.
2.) Drill holes
3.) Remove old GPU and flush clean.
4.) install QDC's on new GPU and pre-fill it with coolant (so I don't have to get air bubbles our of the whole loop again)
5.) Install new GPU in system

I am hopeful I can get it done tomorrow, but something always comes up, so we will have to see.


Had a couple of setbacks today, so this is not happening.

I started the flush, but I ran low on distilled water, so I went out to buy some, and I can't find any anywhere.

Every store I went to was out.

It seems like there is a distilled water shortage, at least in my area. I went to Target, Walmart, Pharmacies, Home Depot, anywhere I could think of, and everywhere was out.

I'm considering ordering a home water distiller, but I am not sure if they get the free ions down as low as the water you buy at the store...

Then the stepson hurt himself, and I had to take him to the ER. (He'll be fine, not super serious) but waiting at hospitals for several hours is not conducive to getting **** done.

Not sure if I want to tear down the desktop in the middle of the week in case something goes wrong and I can't use it for work next morning, so this may delay me untilnnext weekend :(
 
Fun to see you do this man. Impressive. Makes me want to get a aio card when I choose to upgrade.
After years of dreaming, I'm on my 2nd one now. Both rigs in my signature are using GPUs with their own AIO, and CPUs w/ AIOs. Of course, the custom loop is always better but I'm not sure if I'll ever have the patience to make one and do all of these steps. I suppose when I'm able to retire I'll have the time but until then, not really.
 
So I made a poor decision and decided to continue working on this today after work.

Just about everything that could go wrong did. More about that later.

The problem with doing it tonight was that I absolutely had to have the machine up and running for work tomorrow, and I was starting to panic there by the end, but I got it working, byt about 1:45am

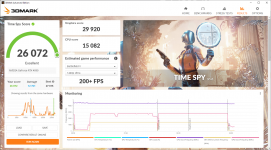
Just to test to make sure everything was working I decided to run some Timespy tests and then go to bed. For these I just maxed out the power limit (106%) which is 450W on mine (wimpy compared to other models) and left everything else at stock settings.

Here is the regular one:

1675149862775.png

Link

Not sure how this compares to other 4090 results, as have not had a chance to look it up yet. My temps were pretty good though, hovering between 35C and 54C. Not sure if that helped my results at all though. Clock seemed to stay in the high 2700's to low 2800's

Extreme coming up in a sec.
 
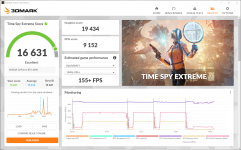
And here is extreme:

1675150635206.png

Link

Again, out of the box except for power limit which is maxed.

I also disabled SMT for these, as 3DMark seems to hate the Threadrippers SMT.

Temps were about the same. I have a lot of room for improvement here. I generally set my pumps and fans to keep my coolant at 33C, automatically ramping up when needed.

Nother the fans nor the pumps ramped up at all in these benchmarks.

Power limit is probably going to hold me back a little on this card, but not as much as I expected. Throughout both benchmarks it was voltage limited most of the time, only occasionally hitting the power limit for a brief moment.

More pics and stuff tomorrow.

Got to get to bed now.
 
Not sure how this compares to other 4090 results, as have not had a chance to look it up yet.
Here's mine from page 2 of this thread.
1674786450269-png.2274


Your 2nd scores seem unusually low. I still have doubts about the power limit being the factor but I can't say for sure they're not.
 
Here's mine from page 2 of this thread.
1674786450269-png.2274


Your 2nd scores seem unusually low. I still have doubts about the power limit being the factor but I can't say for sure they're not.

Hmm.

That is a pretty big difference.

I wonder if the threadripper is to blame for that one. It ad 3DMark really don't seem to like each other.
 
I wonder if the threadripper is to blame for that one. It ad 3DMark really don't seem to like each other.
I honestly think it is. These cards shouldn't have that much of a disparity from each other. I don't know much about TRs but something doesn't seem right.
 
I honestly think it is. These cards shouldn't have that much of a disparity from each other. I don't know much about TRs but something doesn't seem right.


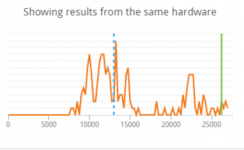
Yeah, actually if you look at the "showing results from the same hardware" line chart it seems to confirm this.

My results (in both regular and extreme) are actually some of the better ones recorded with a 4090 and a Threadripper. Yours seem to fall pretty close to the peak of the chart.

While I got some pretty good numbers on the 6900xt, i had the same problems there with 3DMark.

Going to have to run a couple of games or something and look at the frame rates to verify that it is working as it should.
 
I honestly think it is. These cards shouldn't have that much of a disparity from each other. I don't know much about TRs but something doesn't seem right.
Yeah, actually if you look at the "showing results from the same hardware" line chart it seems to confirm this.

My results (in both regular and extreme) are actually some of the better ones recorded with a 4090 and a Threadripper. Yours seem to fall pretty close to the peak of the chart.

While I got some pretty good numbers on the 6900xt, i had the same problems there with 3DMark.

Going to have to run a couple of games or something and look at the frame rates to verify that it is working as it should.

1675182155204.png

Many of the really low results there are going to be due to people running with SMT on.

SMT on a Threadripper does really bad things to 3DMArk performance, but 3dMark performance seems to suffer either way with Threadrippers, even when you turn it off. My green line on the chart falls somewhere where I expected it:

Near the top because I knew to disable SMT and because of my better than average cooling, but not at the actual top because I didn't overclock it yet.

The more I think about it, I want to build a dedicated box for games with the 4090, and keep the Threadripper as my workstation.

I really loved the concept of one "no compromises" box that is awesome at everything, but that just doesn't seem possible anymore.

I'm probably going to wait for the wallet to recover a little bit from the 4090 and then start looking into that more seriously.
 
I'm probably going to wait for the wallet to recover a little bit from the 4090 and then start looking into that more seriously.
I'm kind of in the same boat. Still paying off mine and as much as I really want to build something with the 7000 series CPUs I decided to just focus on rebuilding the 3700X rig. That venture ended up costing ~500-700 vs the $1-2K I'm expecting to spend on a whole new build (sans GPU since it'll inherit the 4090).
 
Just curious, what boost clock speeds did you see during these tests? Mine will go upwards of 2880 and mostly stay there, with lows around 2650, at stock. Other than Timespy, I've stopped OC'ing it because just by pushing power to +110 it'll hit those clock speeds and then be totally stable and quiet. It's fun to watch it try for 3 GHz but realistically gets pretty close just by upping the power limit.

Edit: I keep forgetting to check what BIOS switch setting my 4090 is set to. When I was rebuilding the 3700X with the 3090 Ti I remembered and saw it was on quiet and switched to OC mode. I need to check the 4090 for the same. That could be the wall I was hitting with my tests earlier.
 
Become a Patron!
Back
Top